Al's Hot Rod Shop
Home
My Cars
1968 Mustang Convertible
OL Heap
OL Heap 2
40 Ford Tudor - Ol heap 3
>
On the Road
As bought
Chassis
Firewall and Floor
Body
Fenders
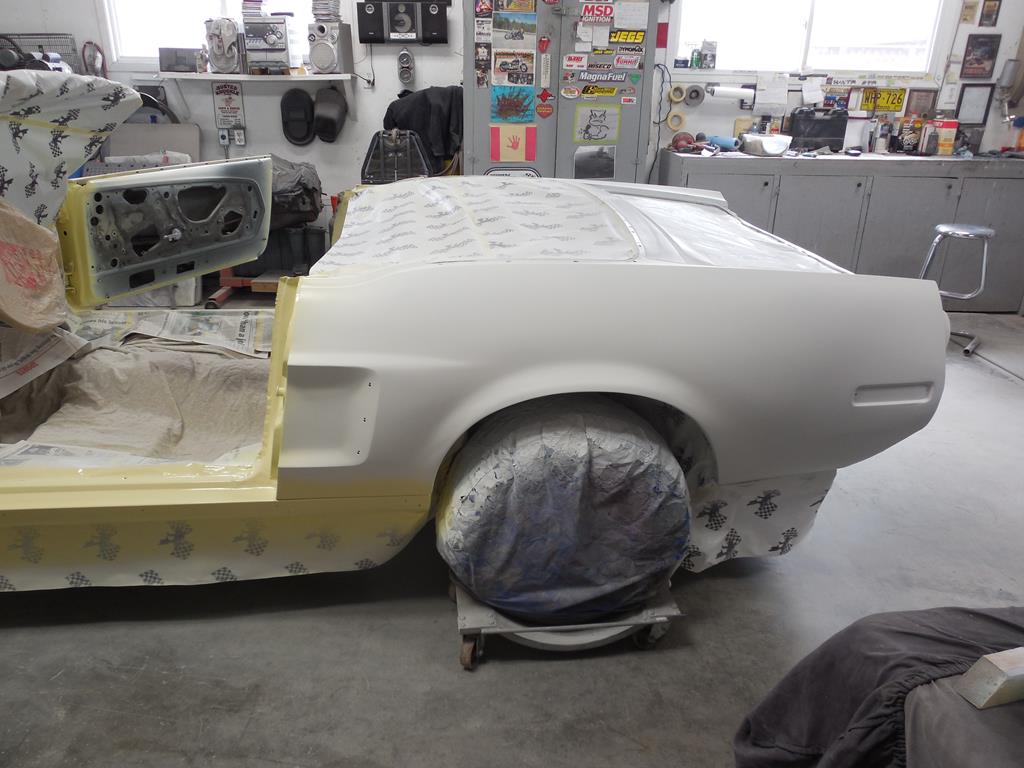
Paint
Dash
Final Assembly
Interior
1955 Chevy Project
LoRyDa
Cars I Had
Friend's Cars
Cool Car Pics
Cool Places
Cool Rods (pre-49)
Map
Email
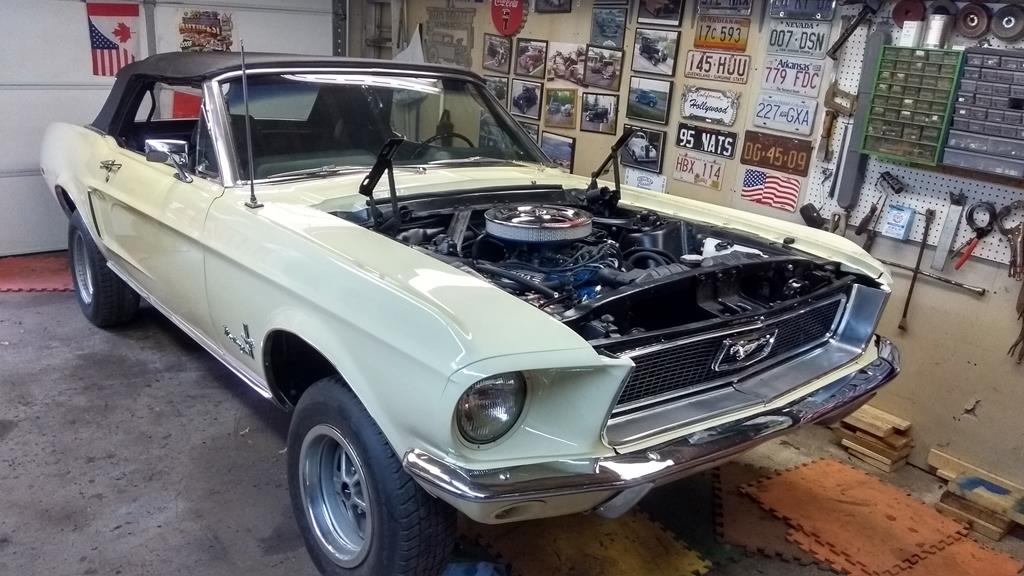
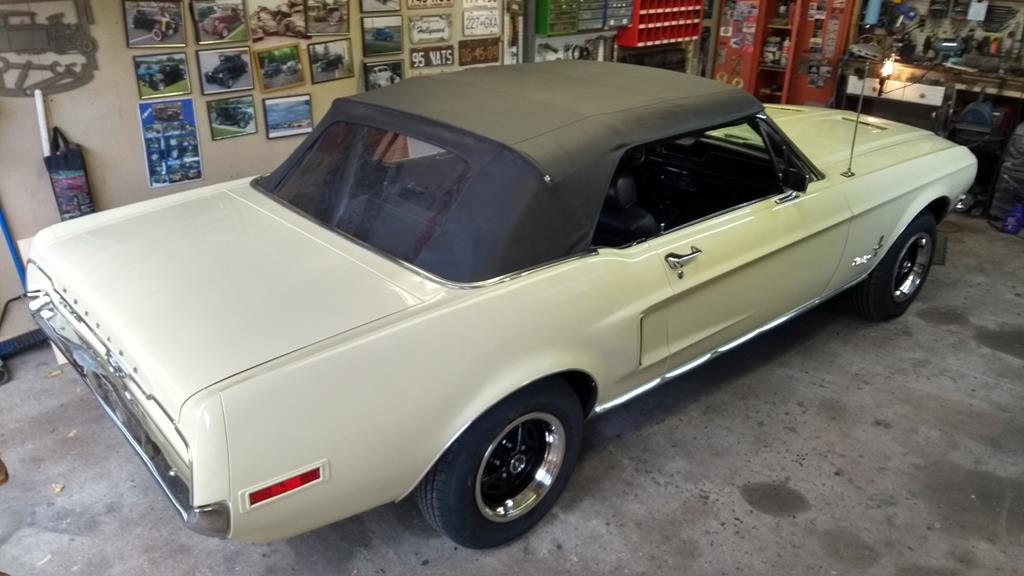
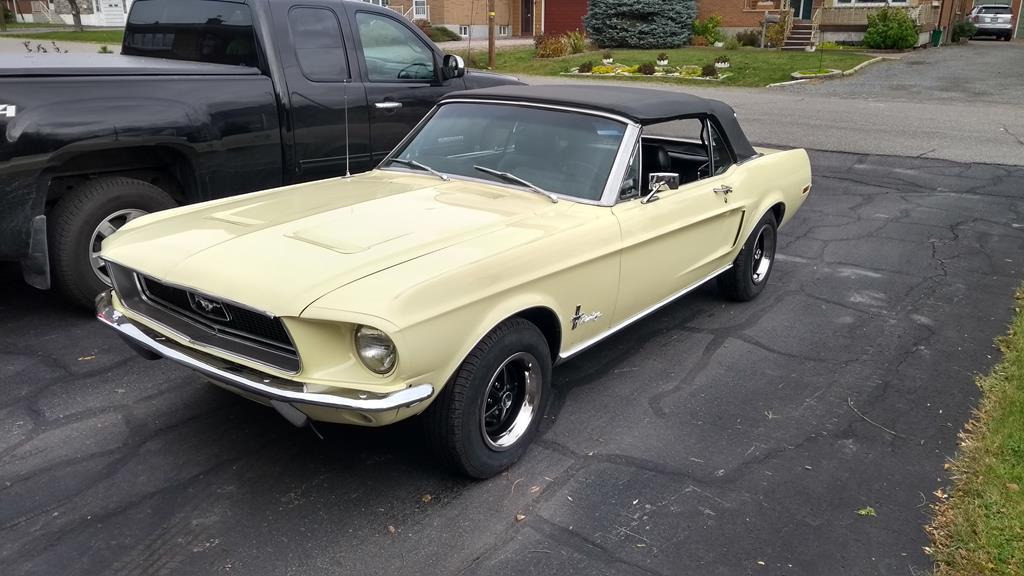
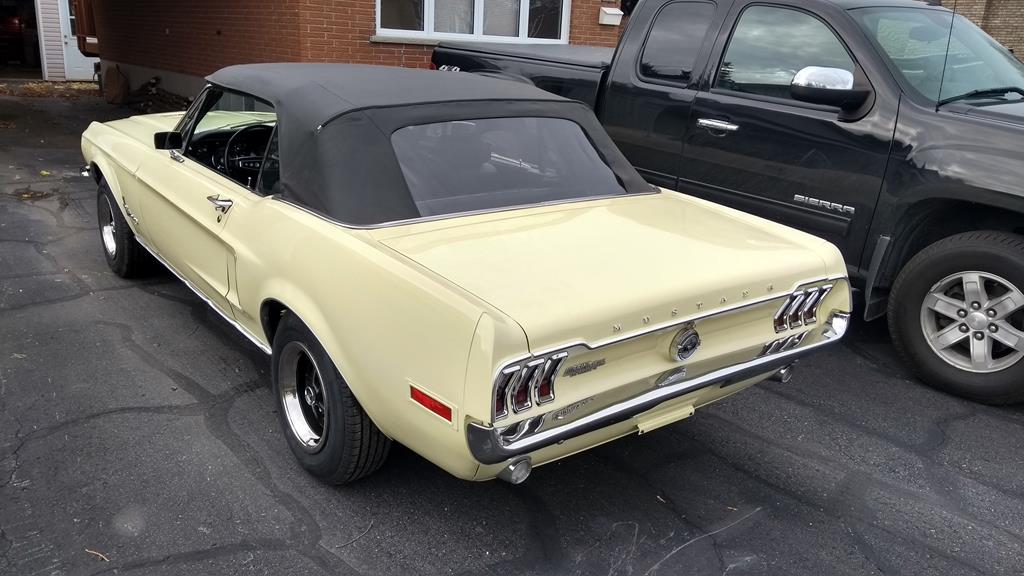
1968 Mustang Convertible
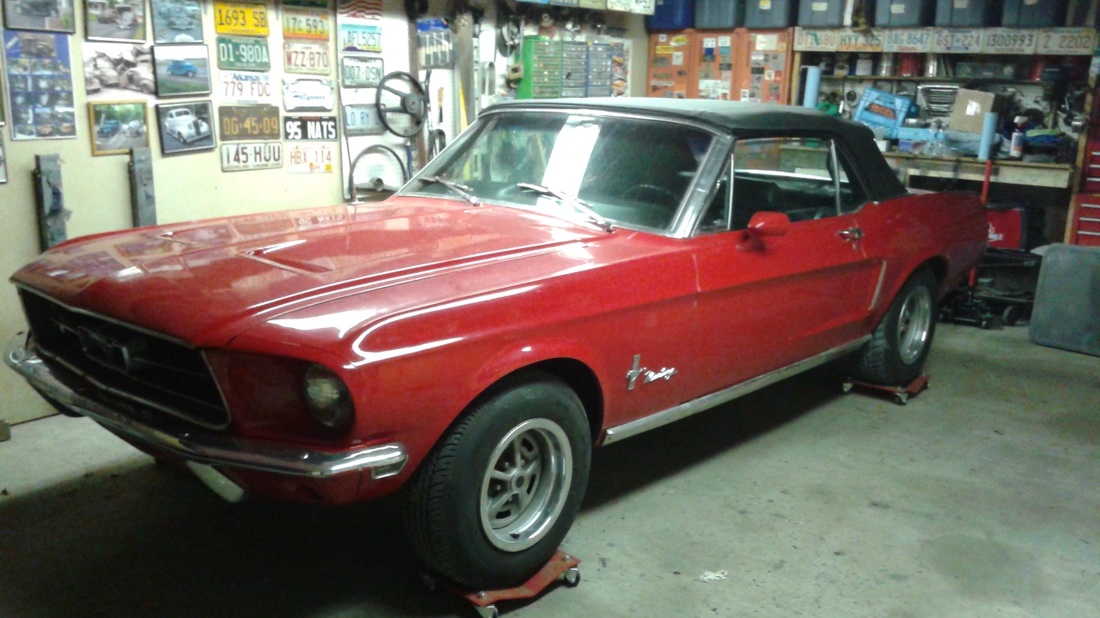
(Yikes, this is kinda too new for me, ain't it?)
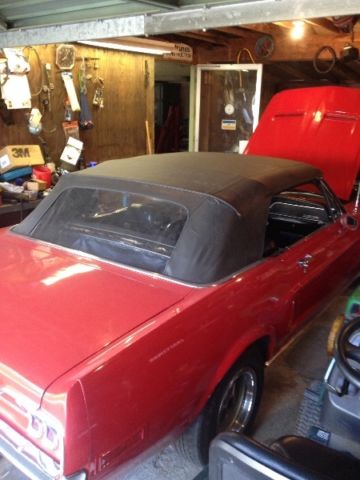
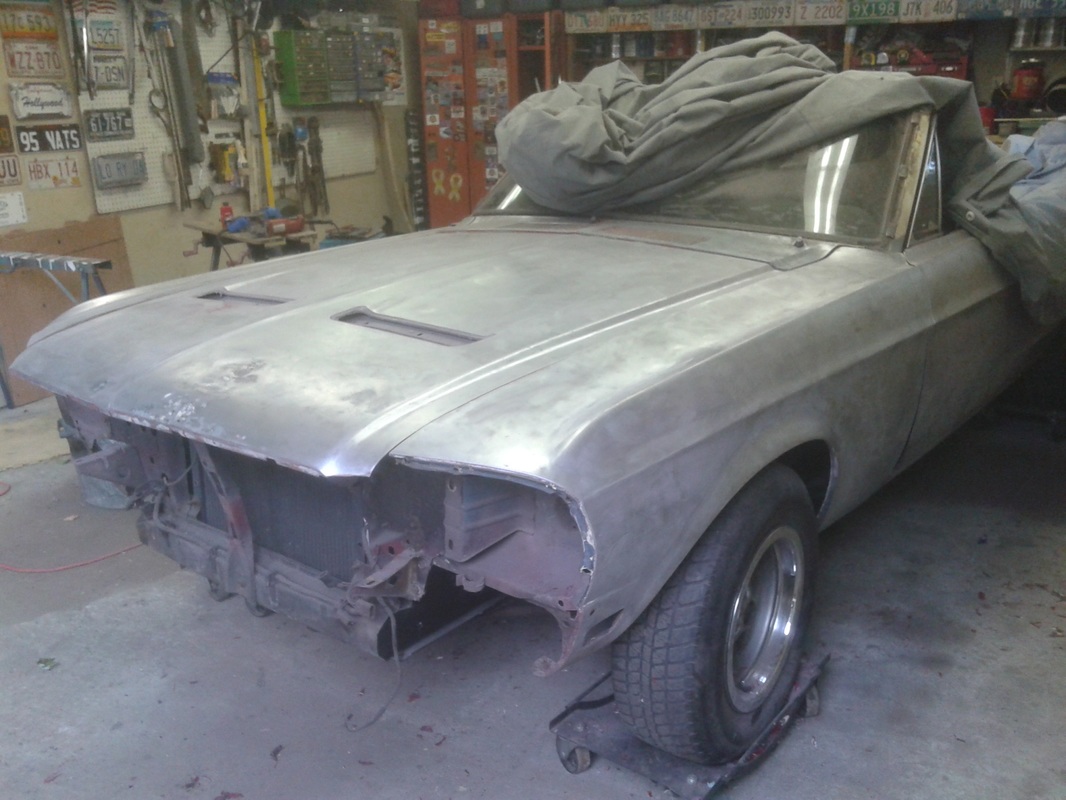
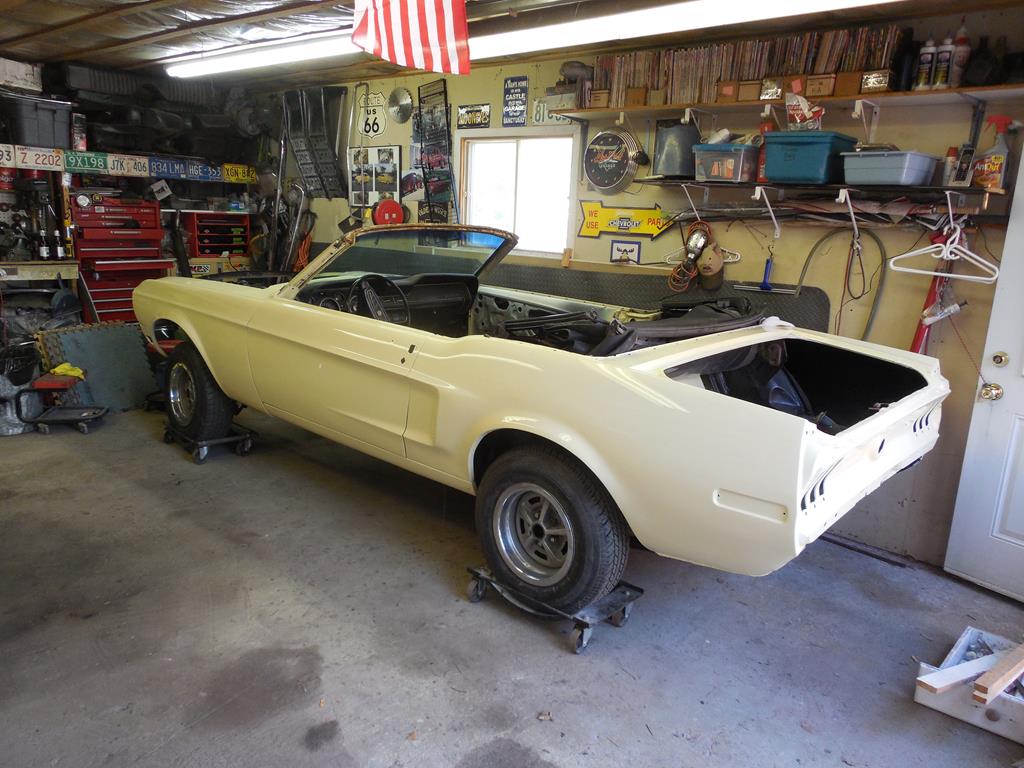
Here's what I started with. It was a great 20 footer (ya know, looks OK at 20 ft)
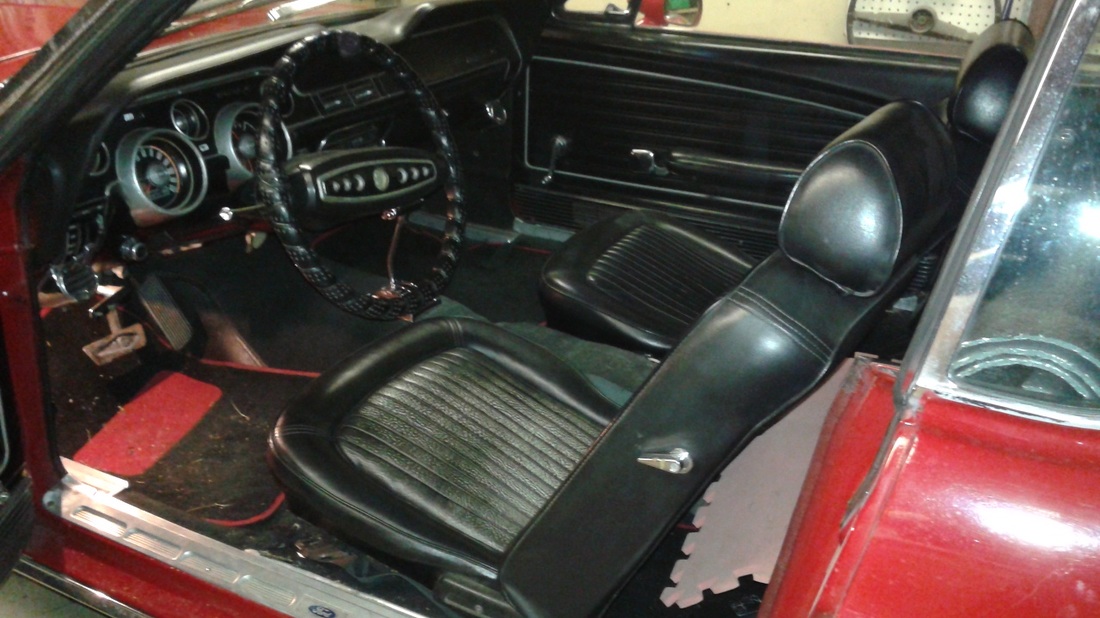
Interior looks OK but needs carpet, panels and general TLC
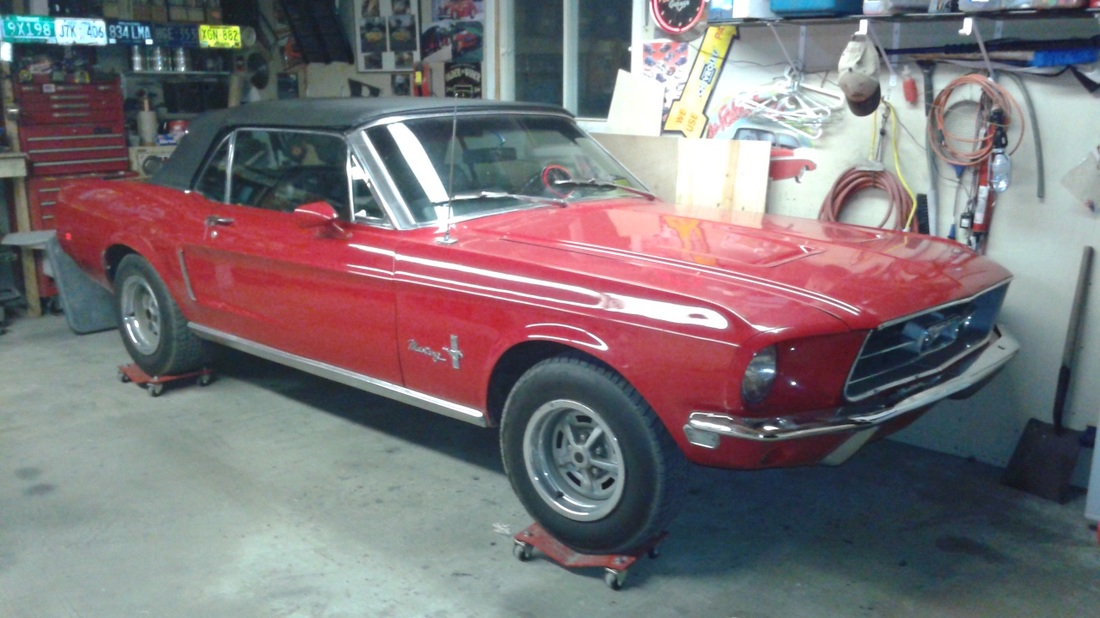
Top is new.
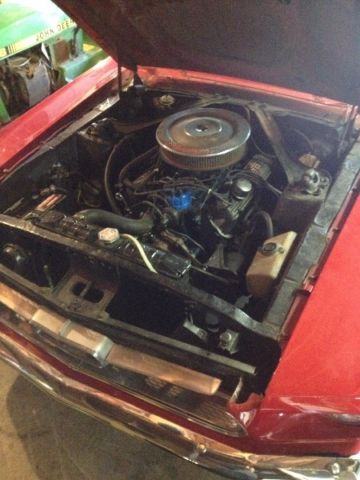
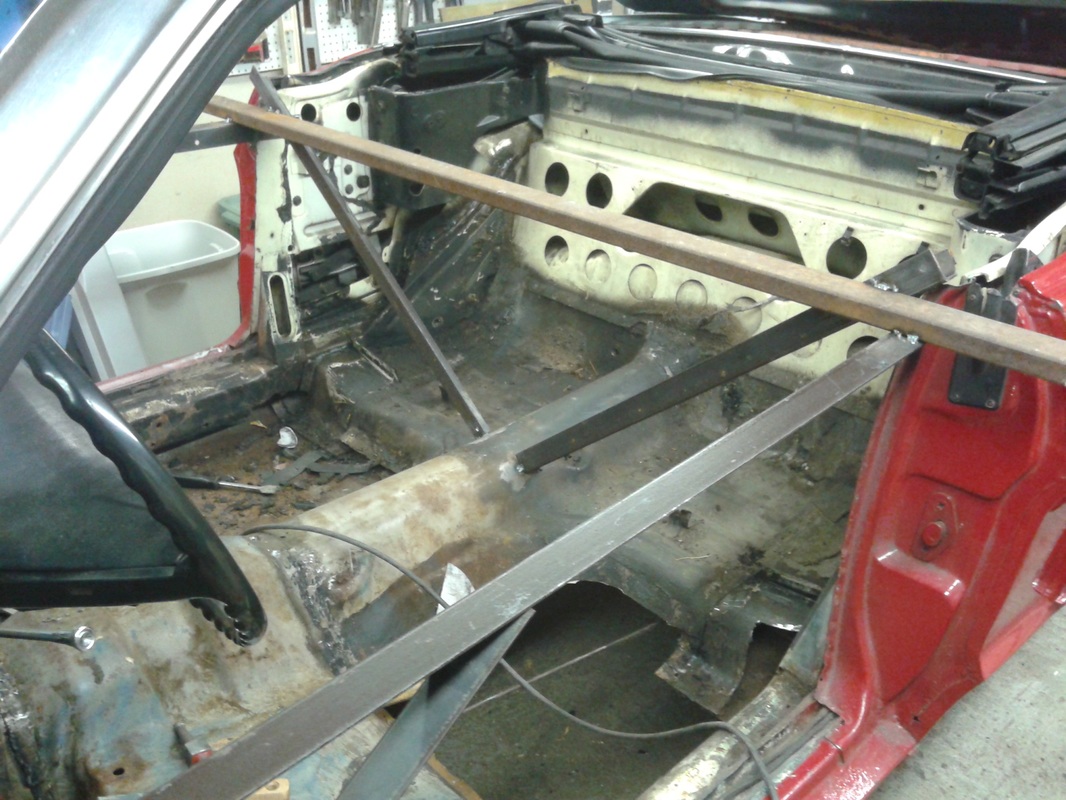
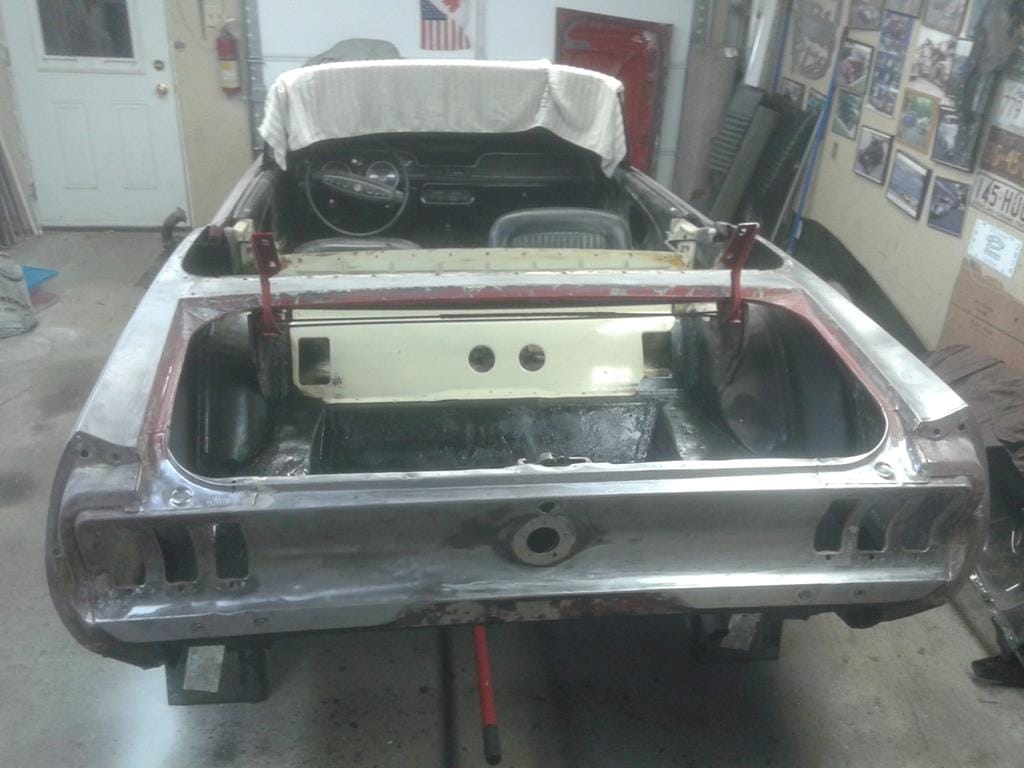
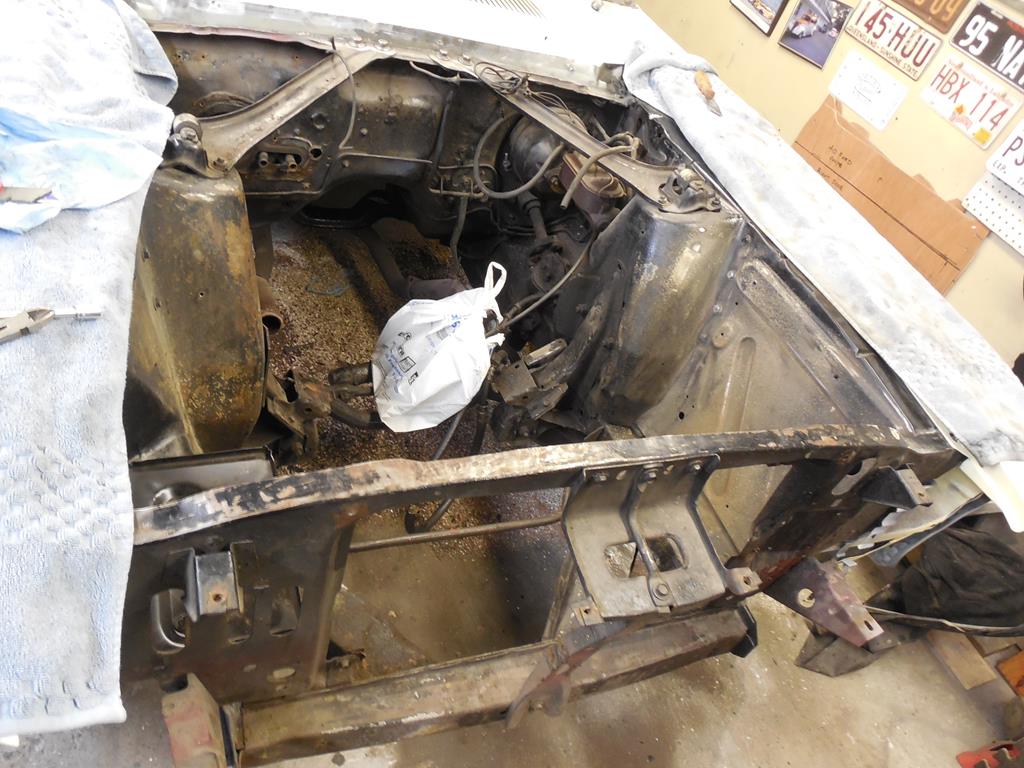
A bit of a rats nest under here.
And so the teardown begins
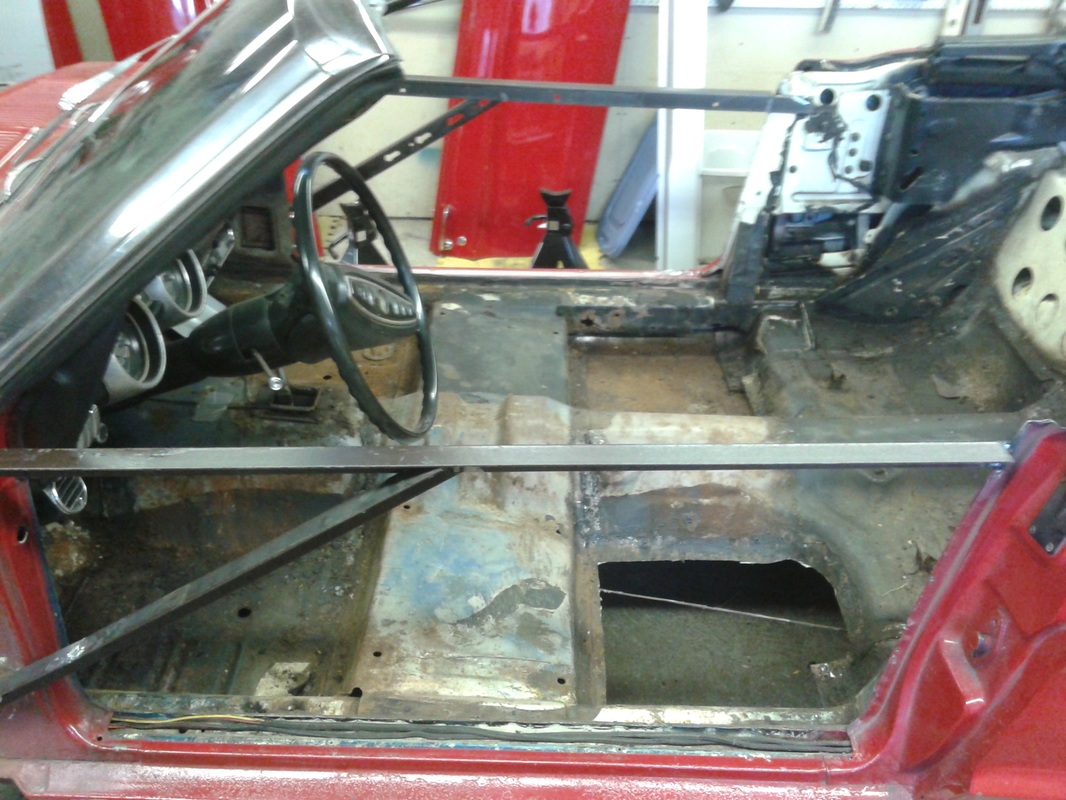
Getting ready to rebuild the structure and replace the floor, I added bracing so it doesn't move around
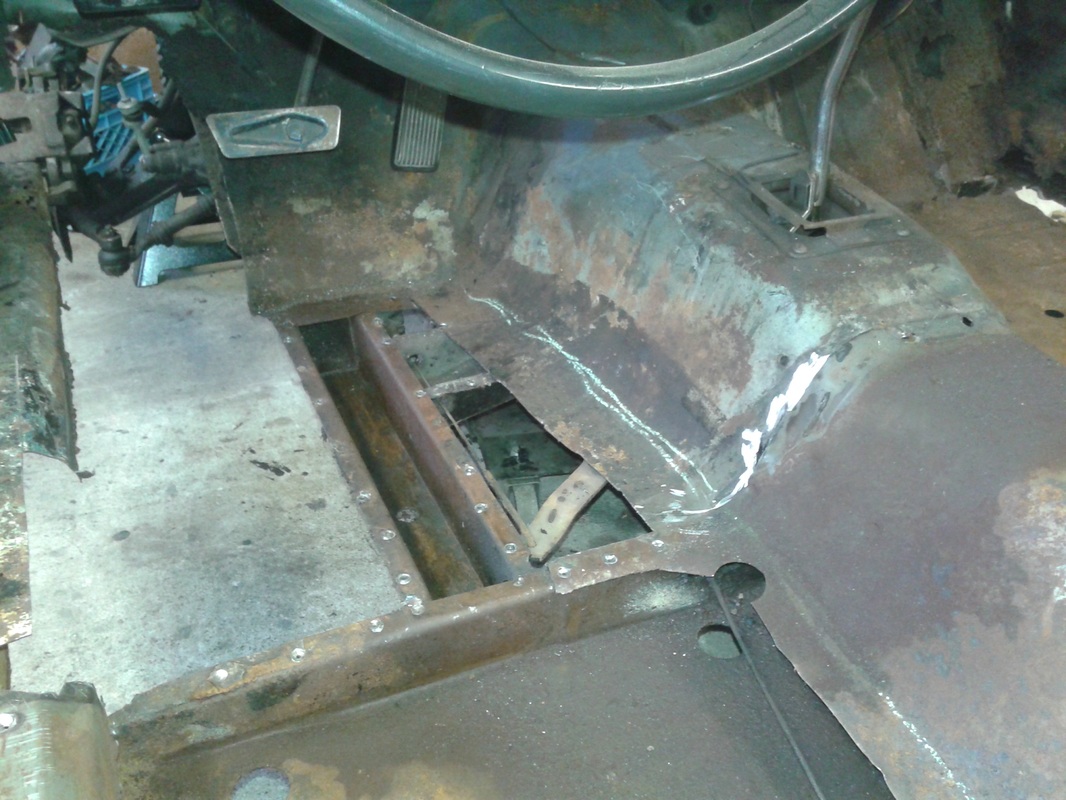
Removed old floor and rust back to some solid material
Outer rocker cleaned up.
New inner rocker
New inner rocker in
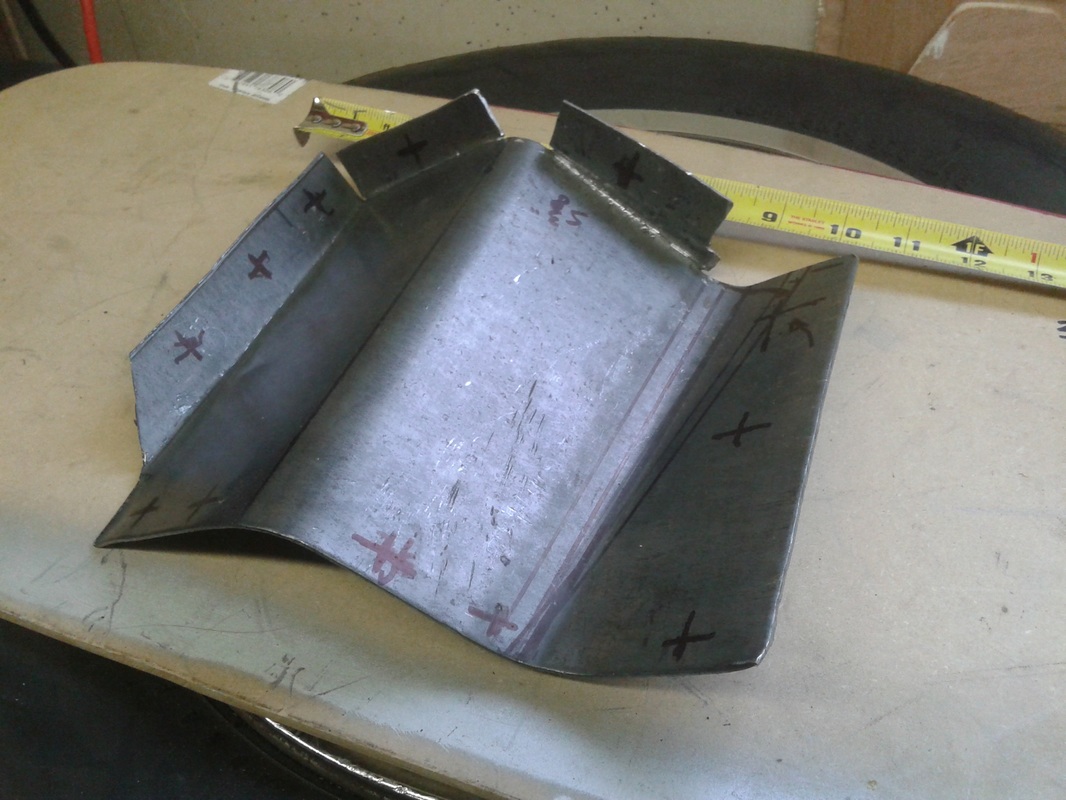
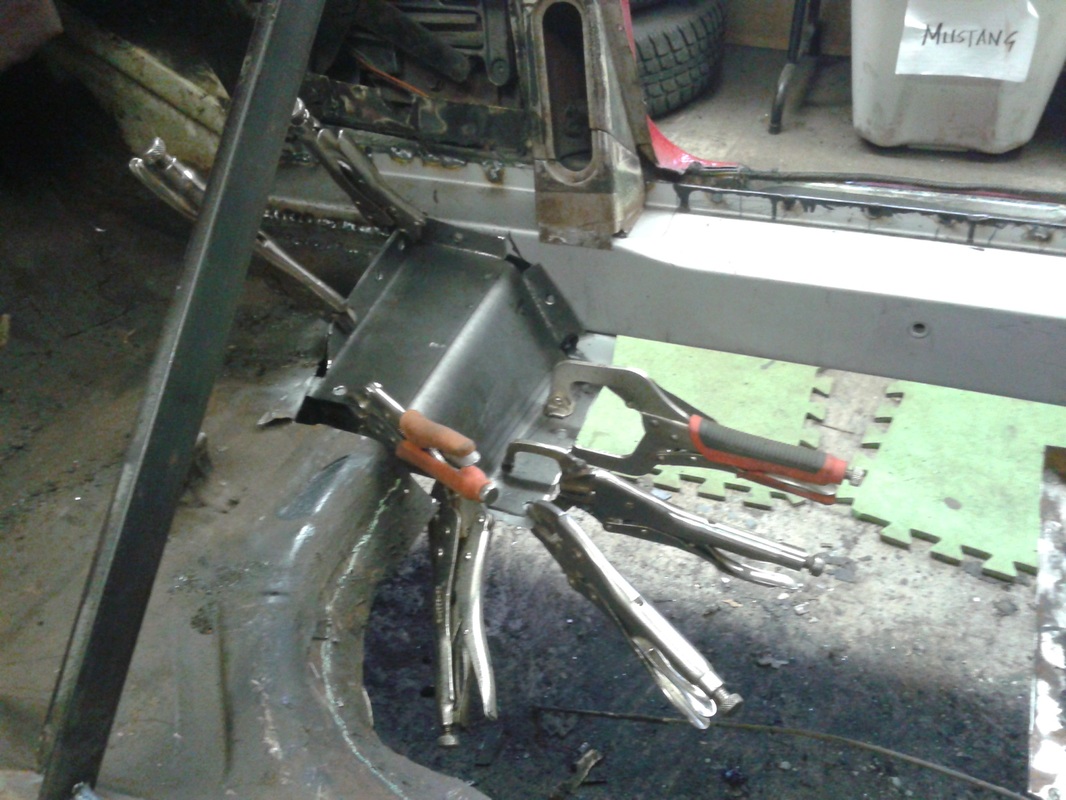
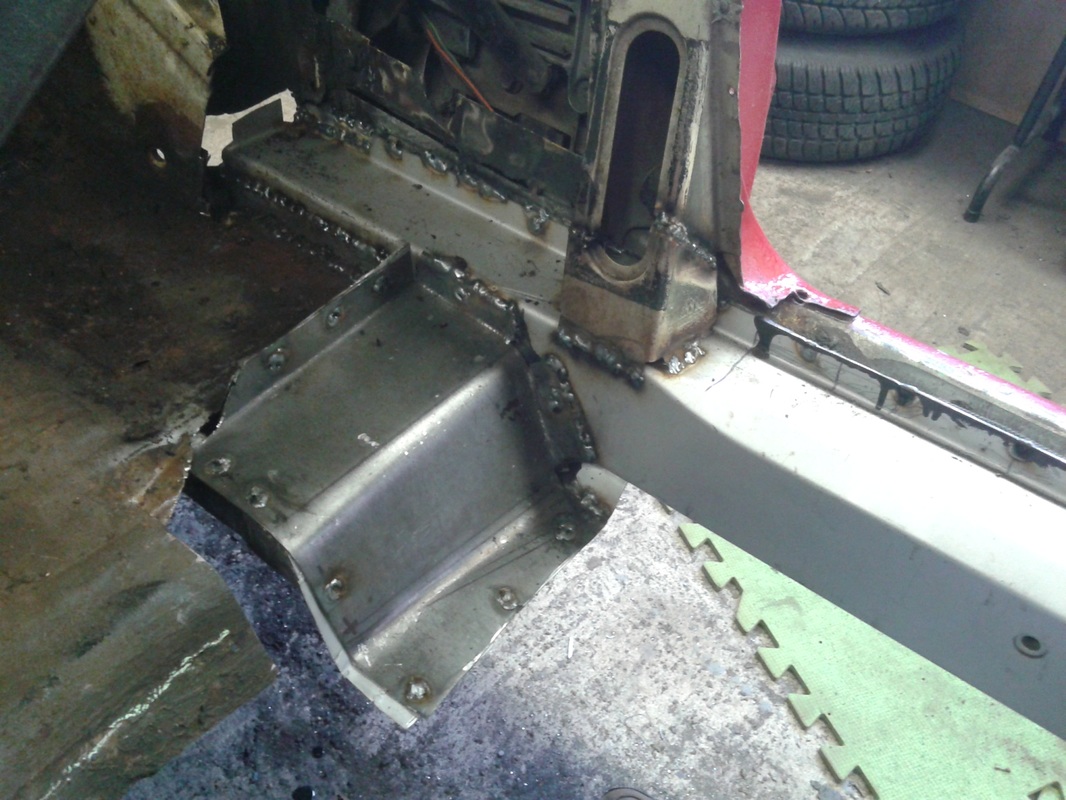
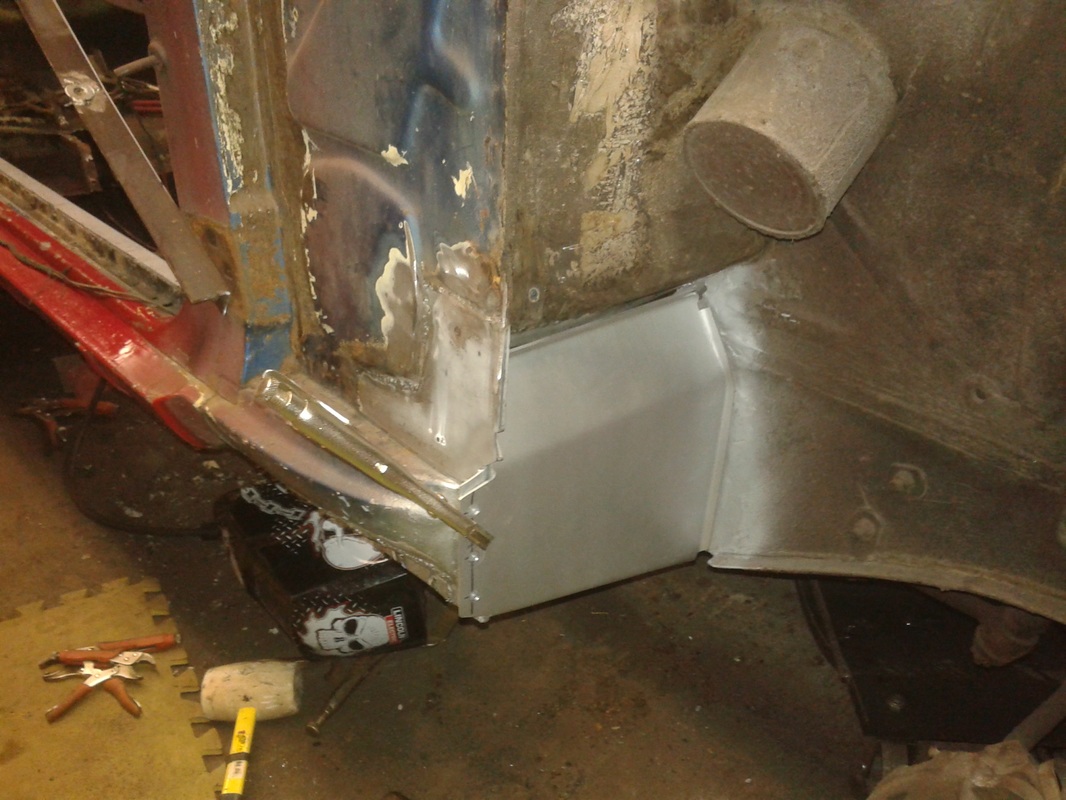
New LF torque box
Tying in the left reinforcing pan to the new rocker
Reinforcing pan to rocker from below
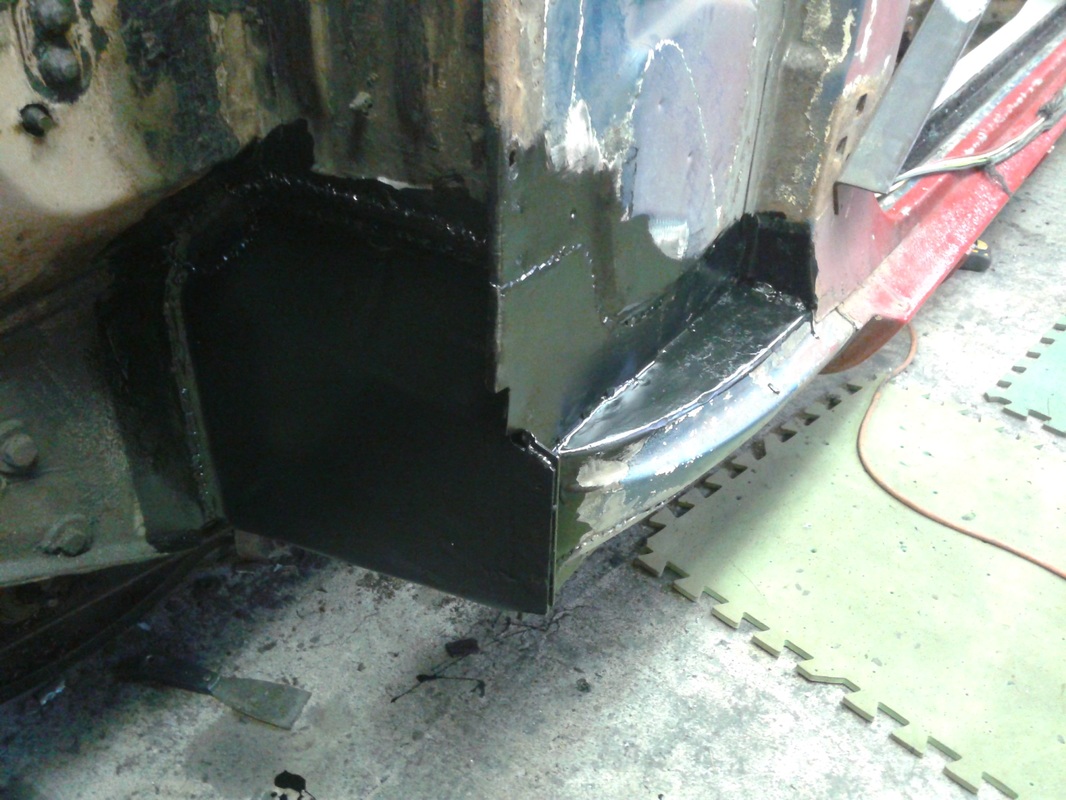
Rear torque box cover.
Rear torque box cover going in.
Rear torque box cover in.
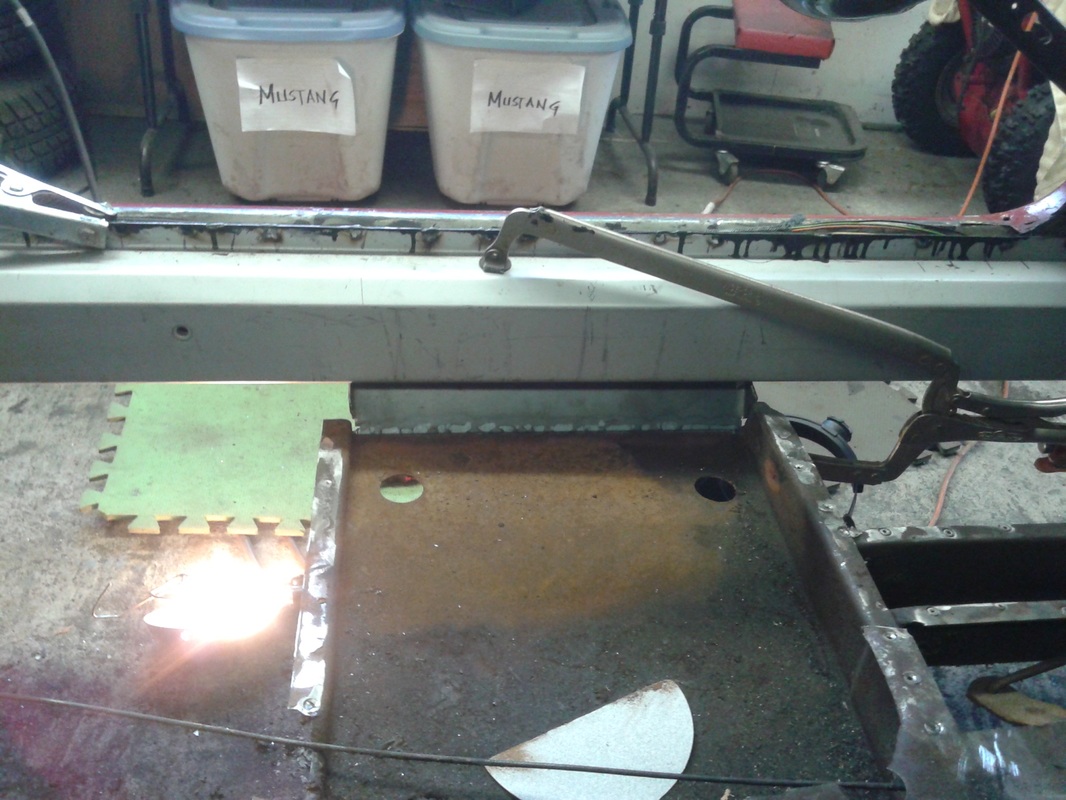
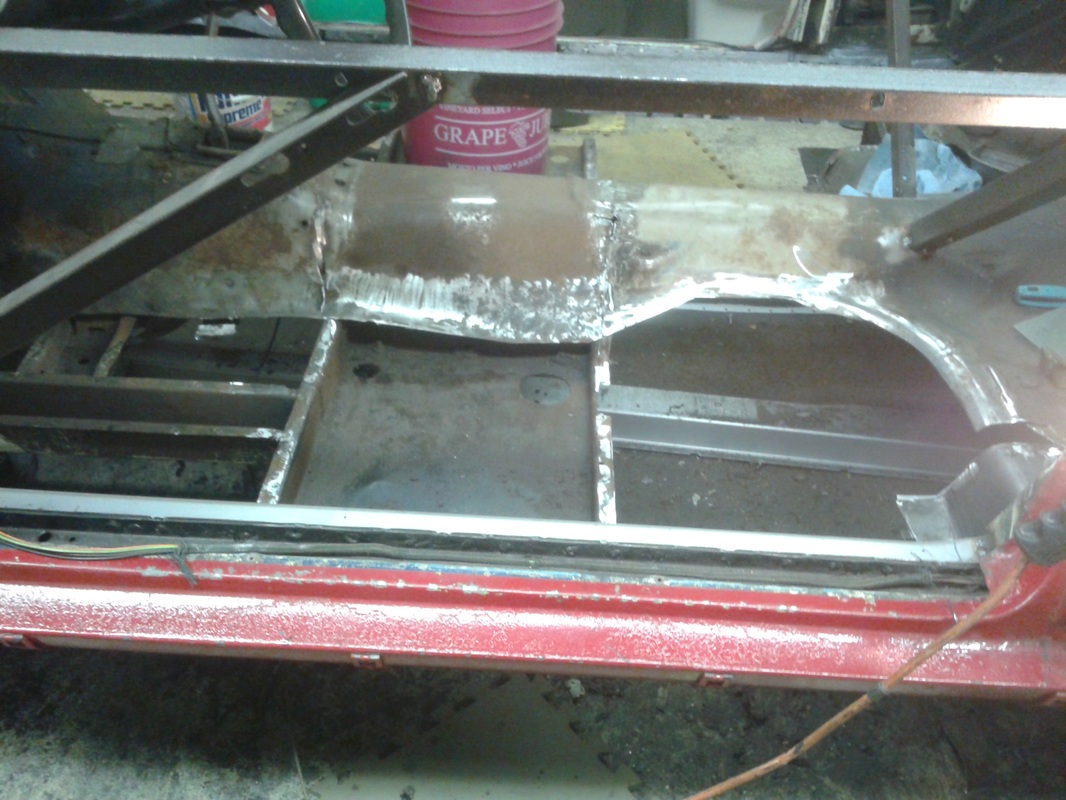
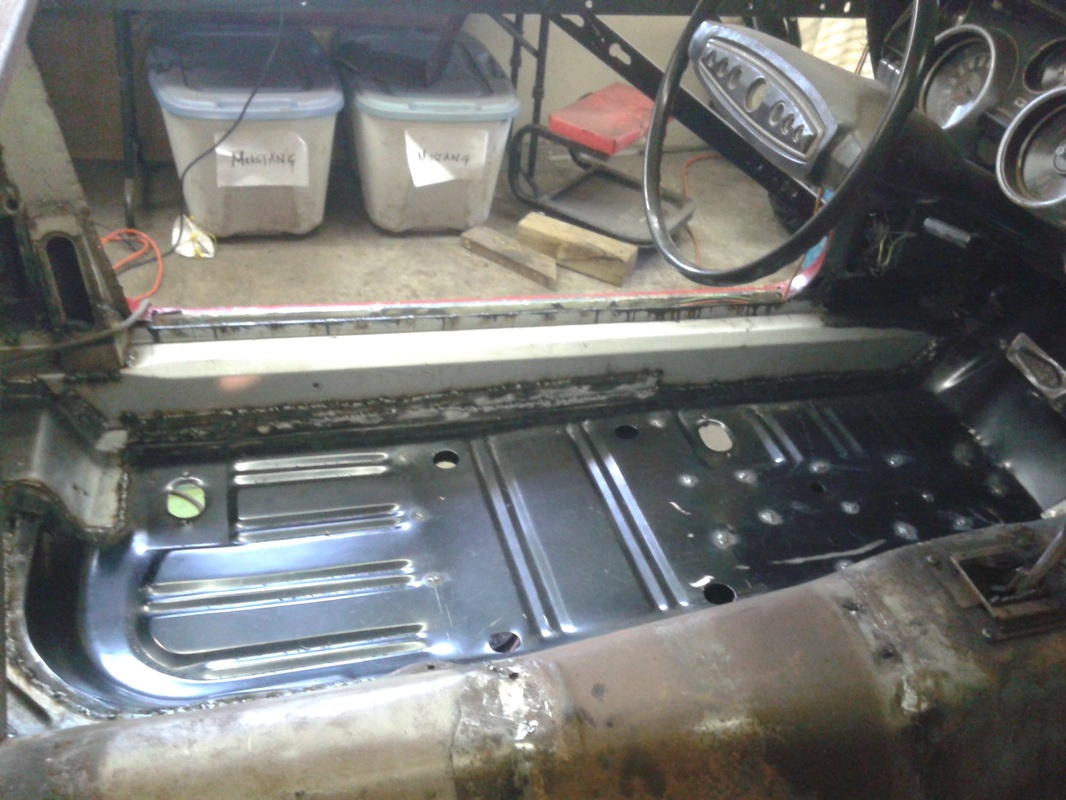
Prepping the old floor for the new floor pan. That's weld-through primer around the perimeter.
Fitting new floor pan
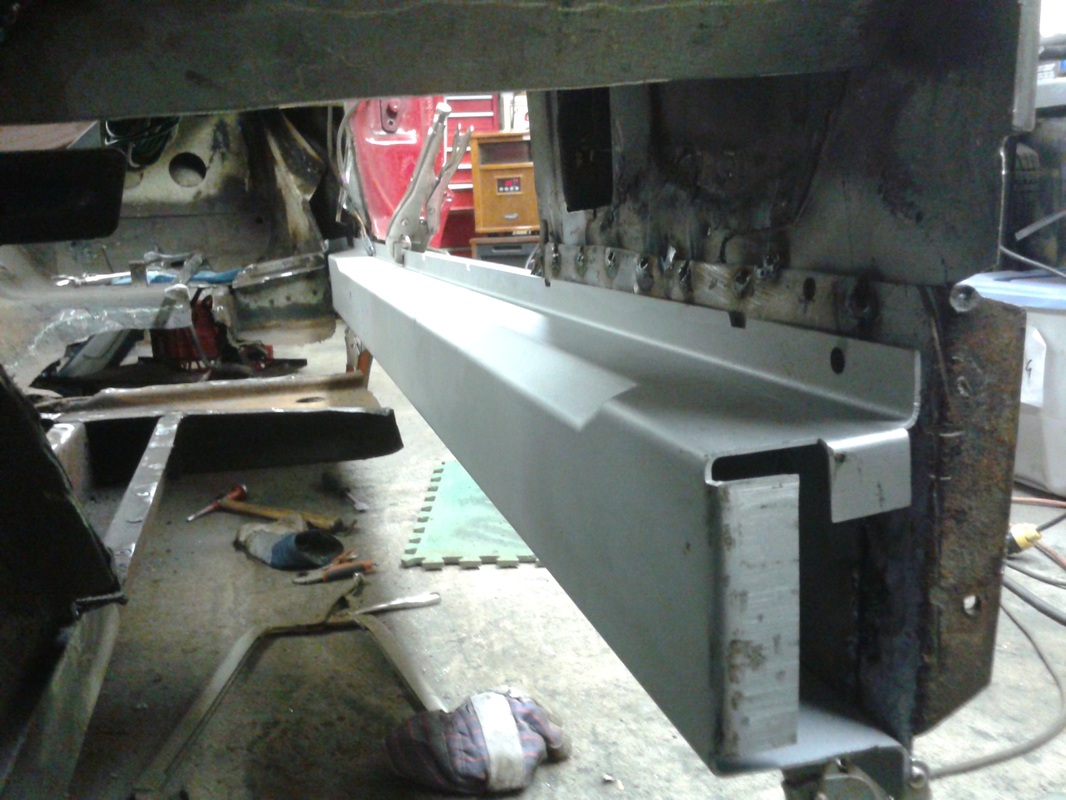
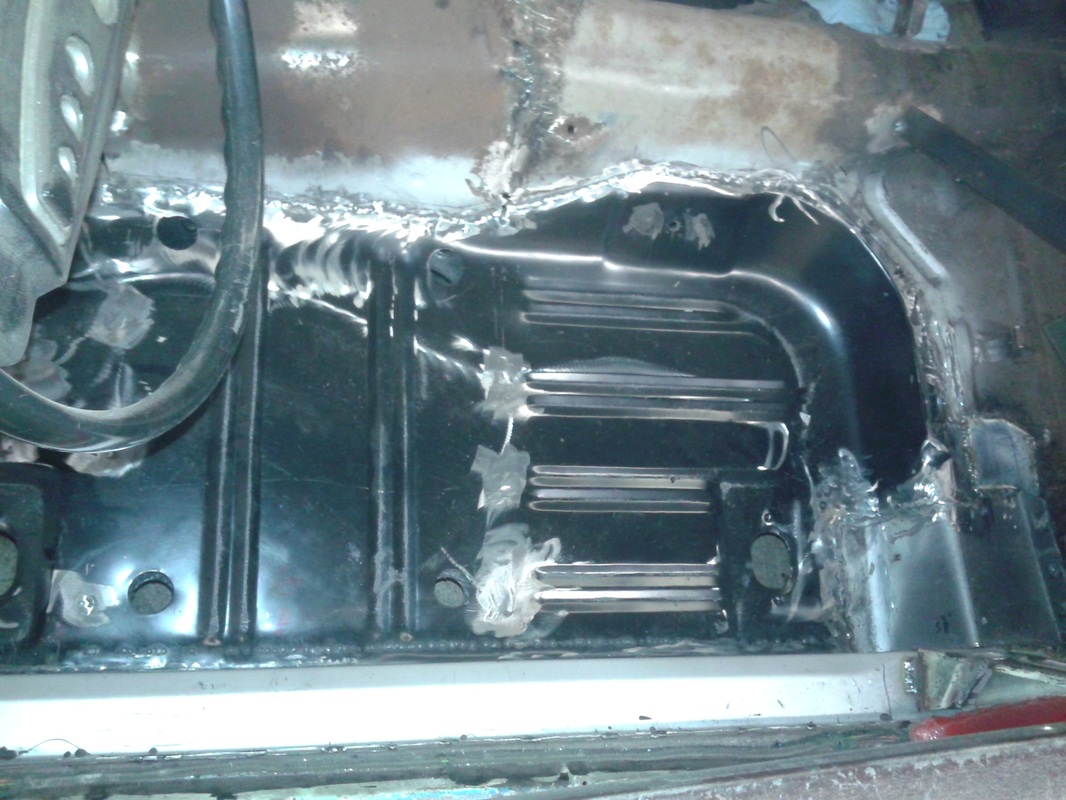
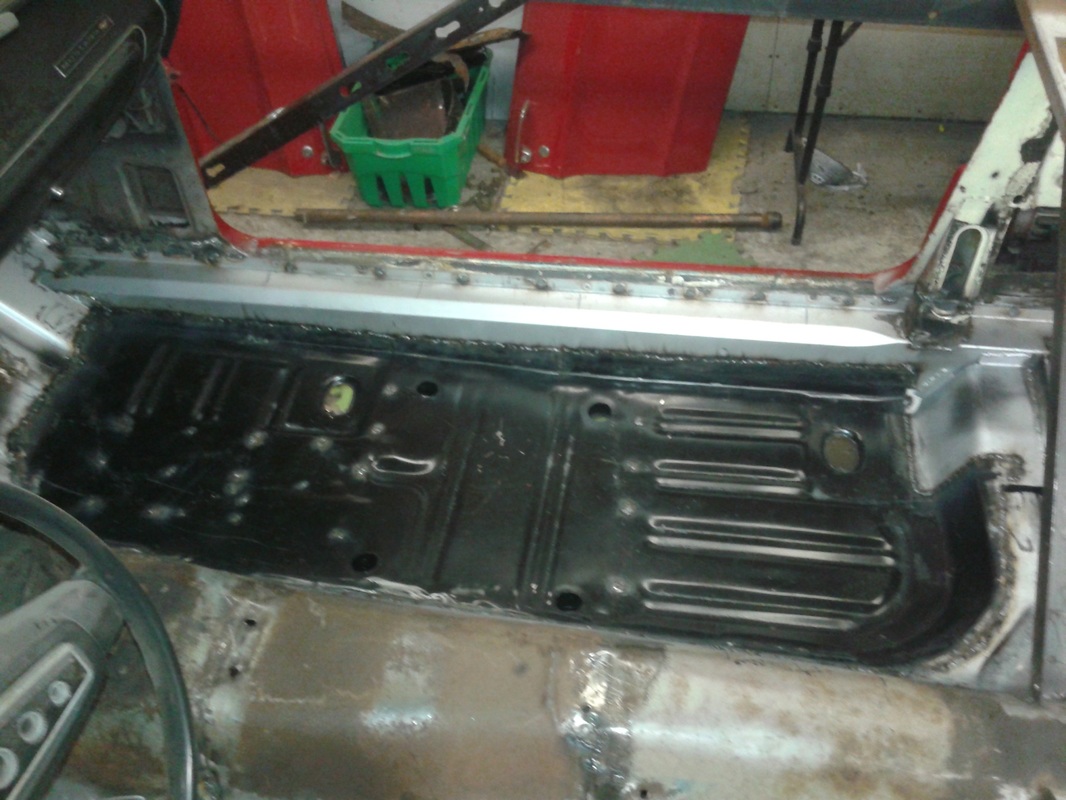
New floor pan in.
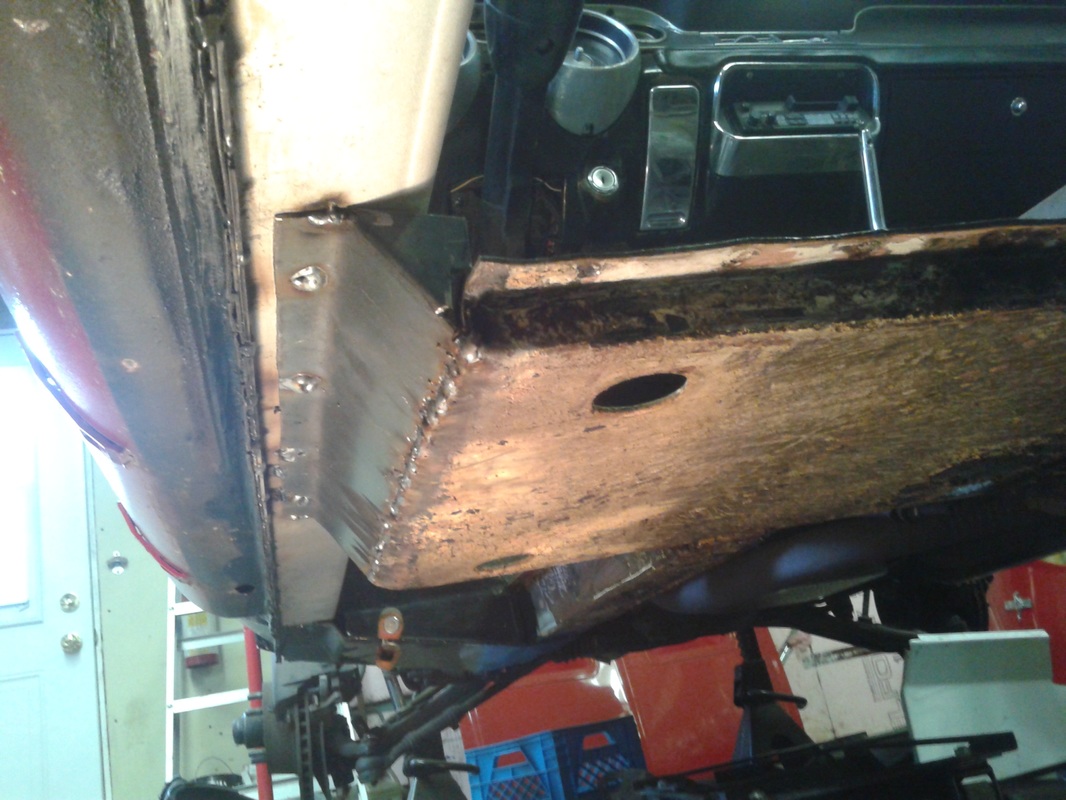
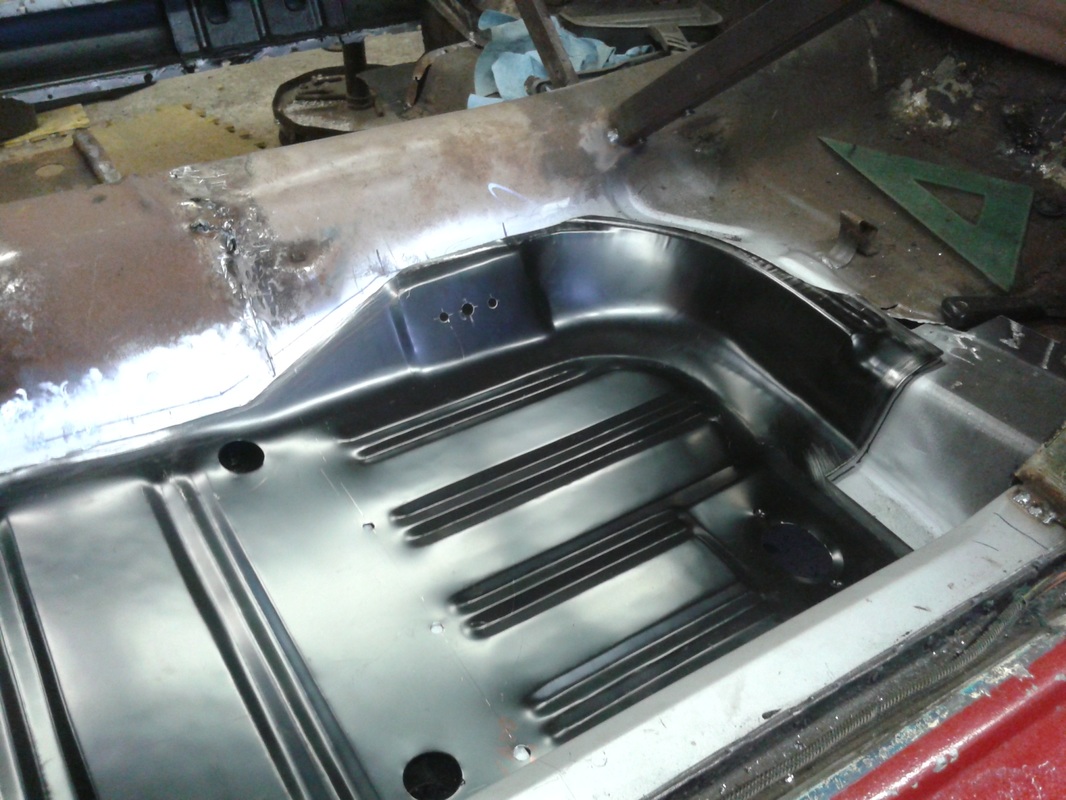
RF torque box
Right hand floor structure almost ready for the new floor pan.
Prepping the floor pan for plug welding
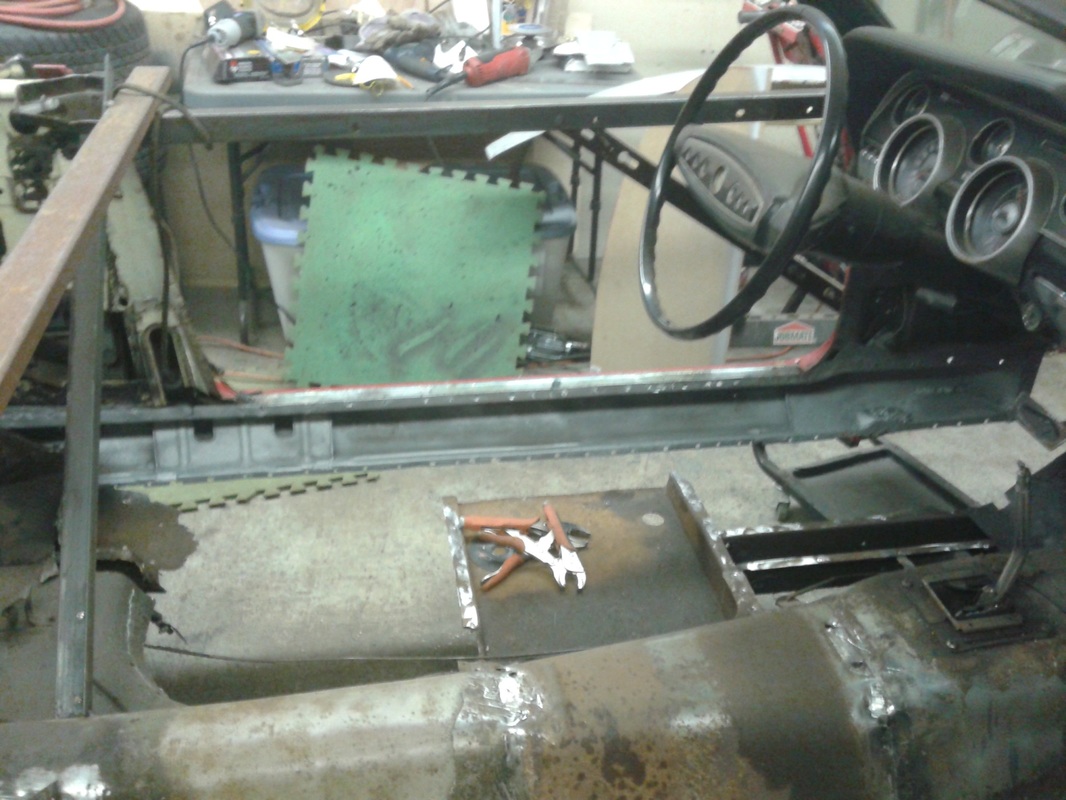
Almost ready to remove the bracing - then maybe I can crawl into the car without smackin' my head. @#$%&
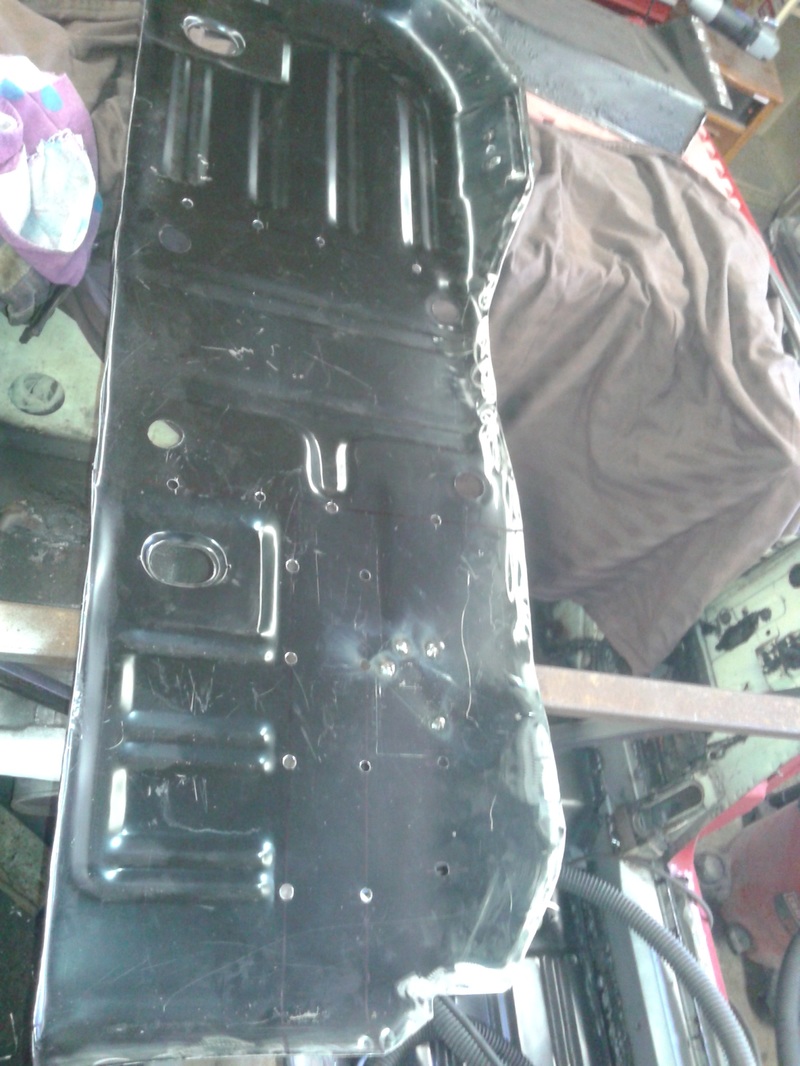
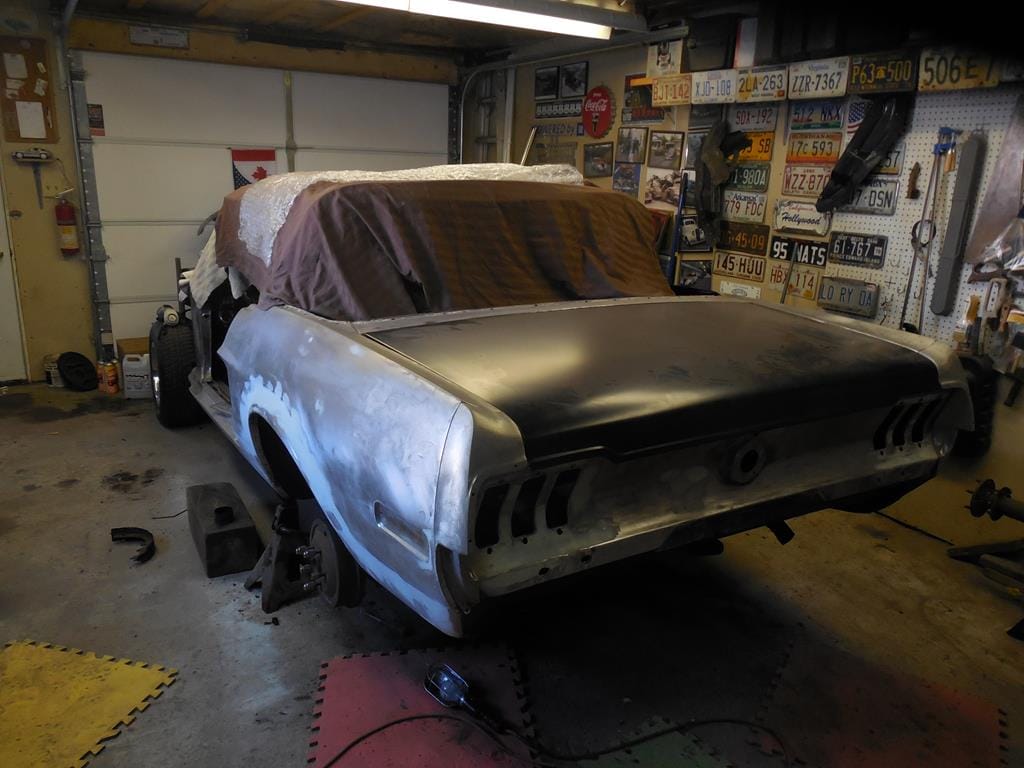
Here's the finished floor. It was a ton of work but the car now has a good structure.
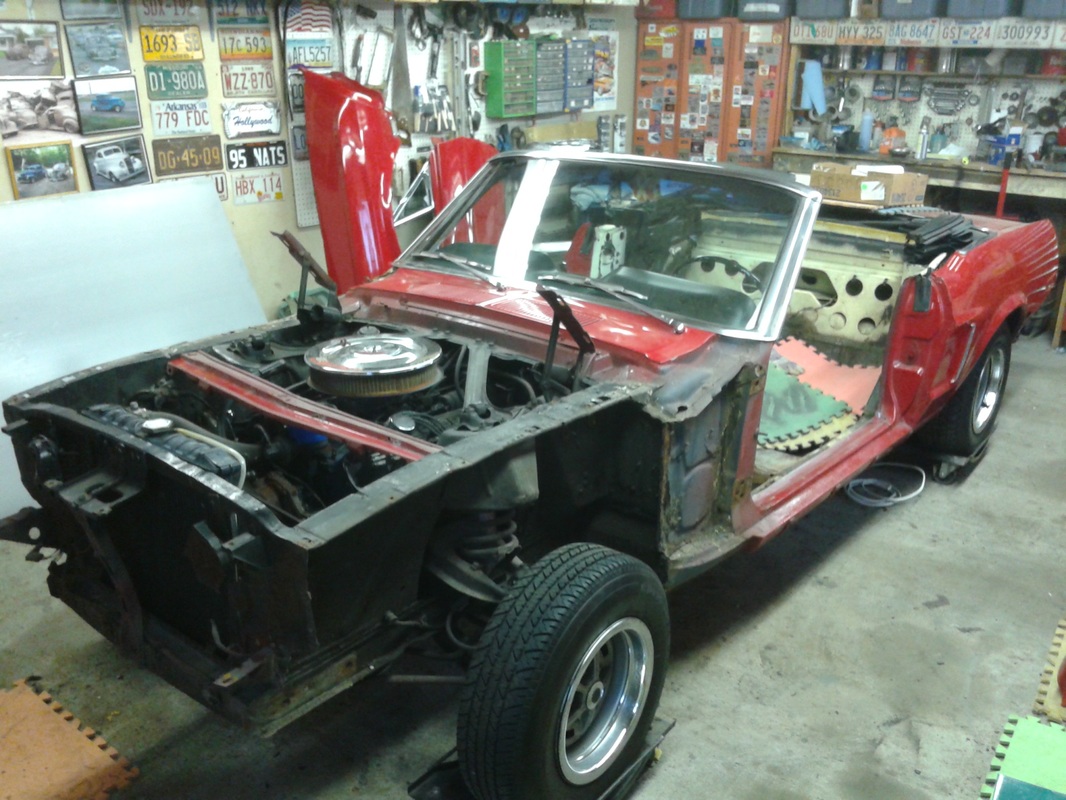
Now the bodywork starts
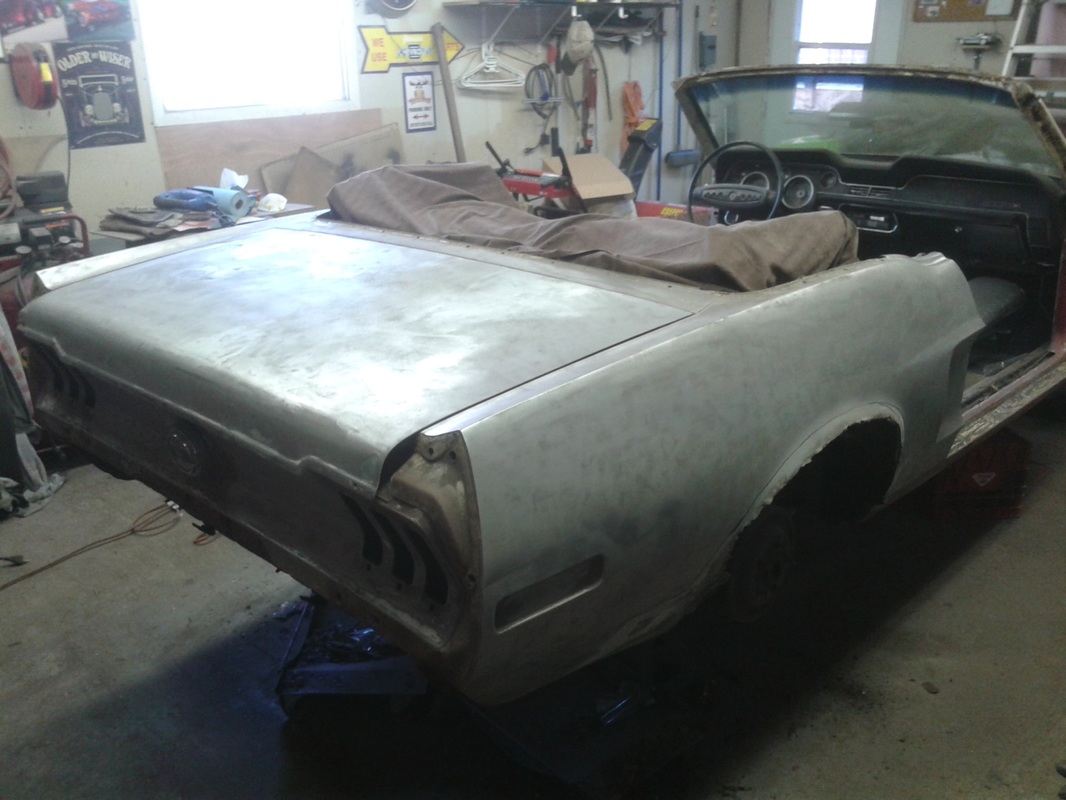
Decided to strip it down to bare metal.
The panels are surprisingly pretty straight. Except for around the wheel openings, its not too bad.
New door hinge pins (and a new lower hinge on the driver side) the door fits pretty good. I guess all the bracing did its job during the floor reconstruction.
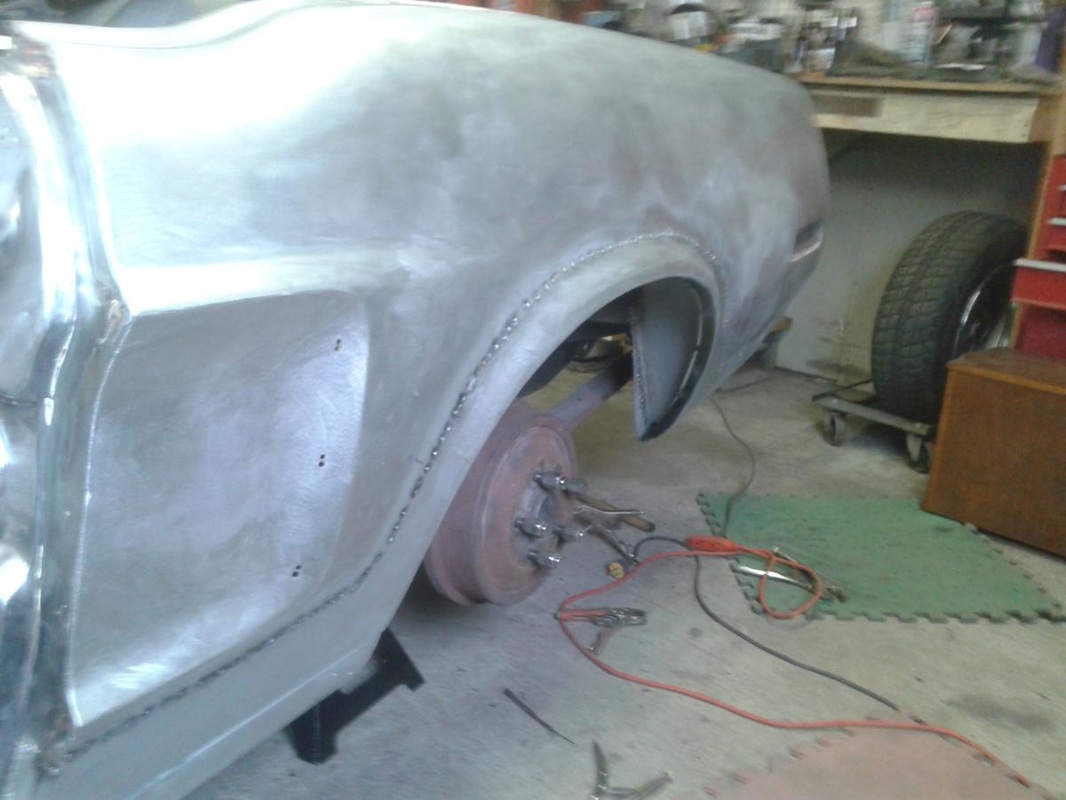
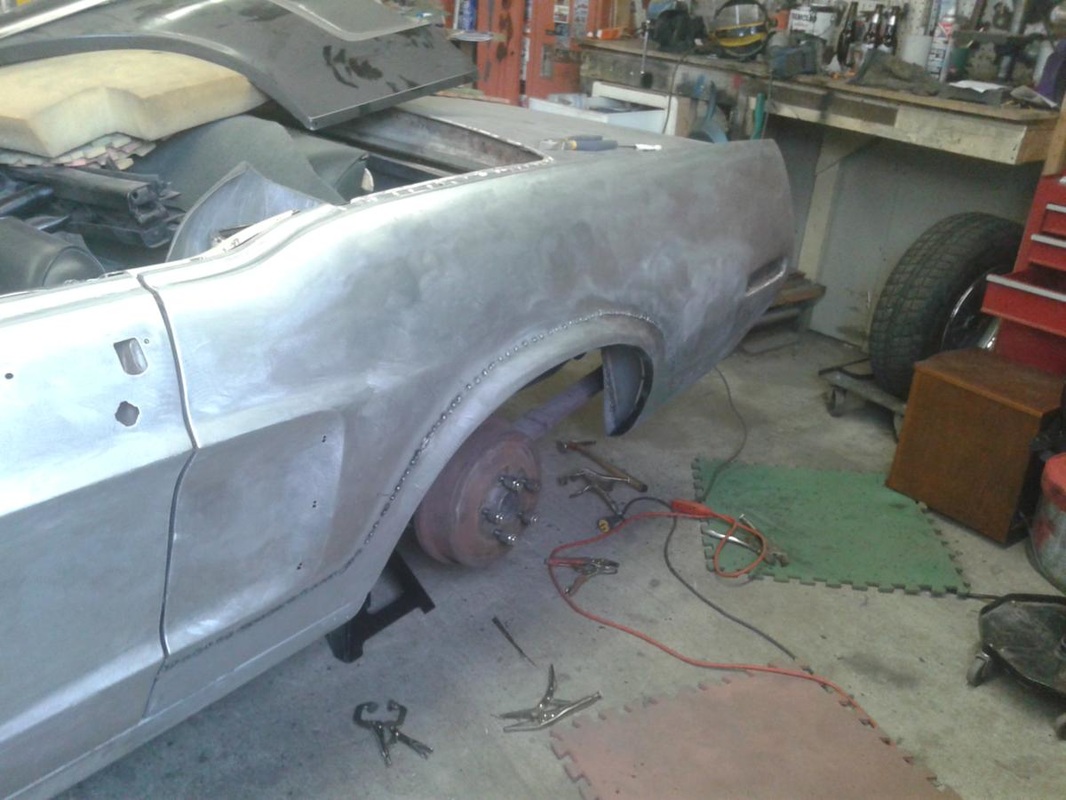
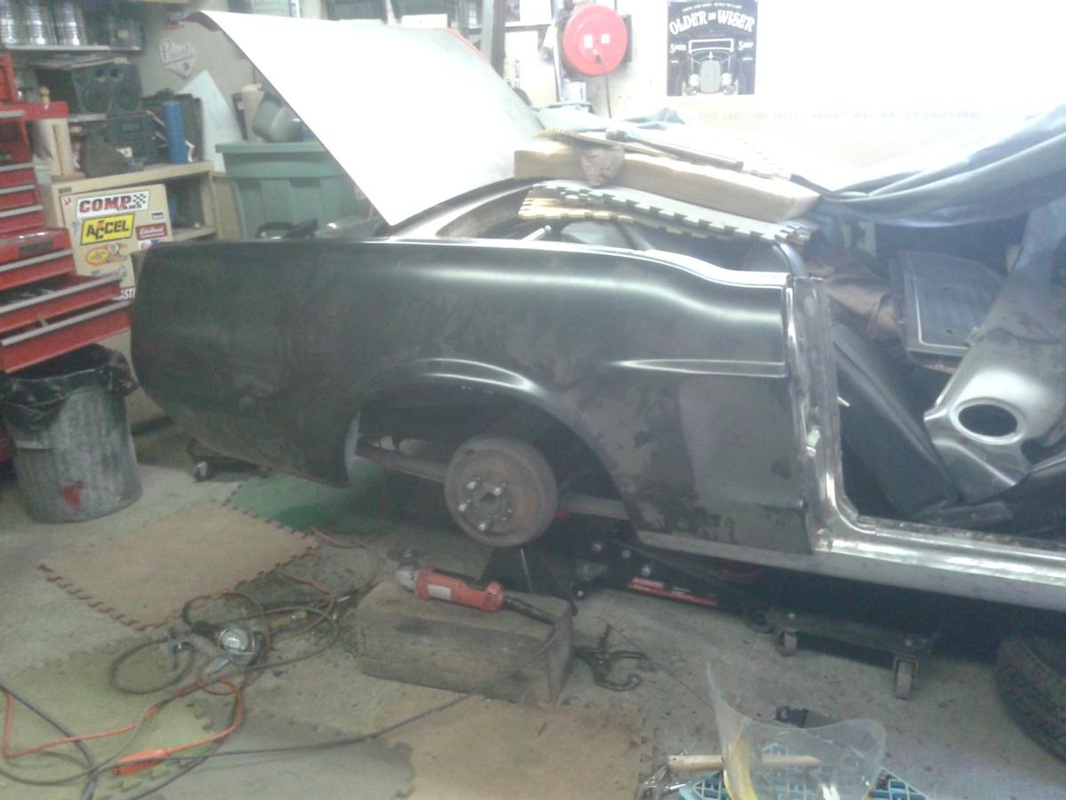
Inner wheelwells were rough so I decided to cut them out and install new ones
A bit of effort was required to change the wheel wells but worth it in the end
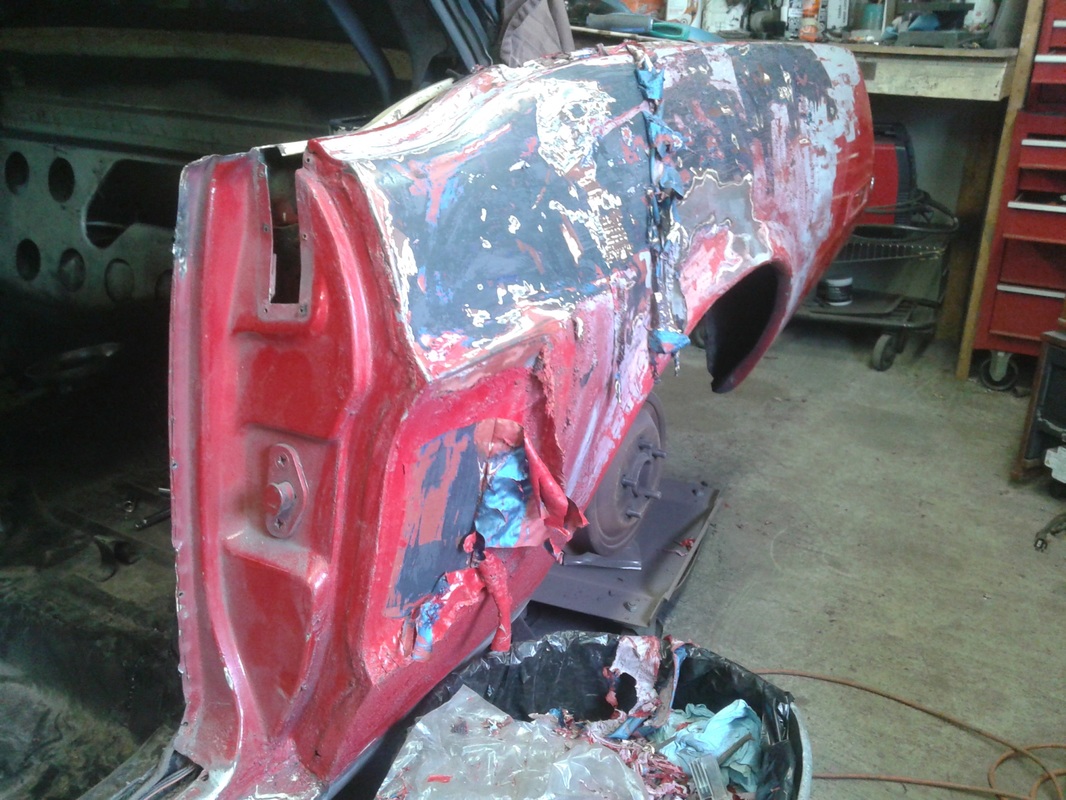
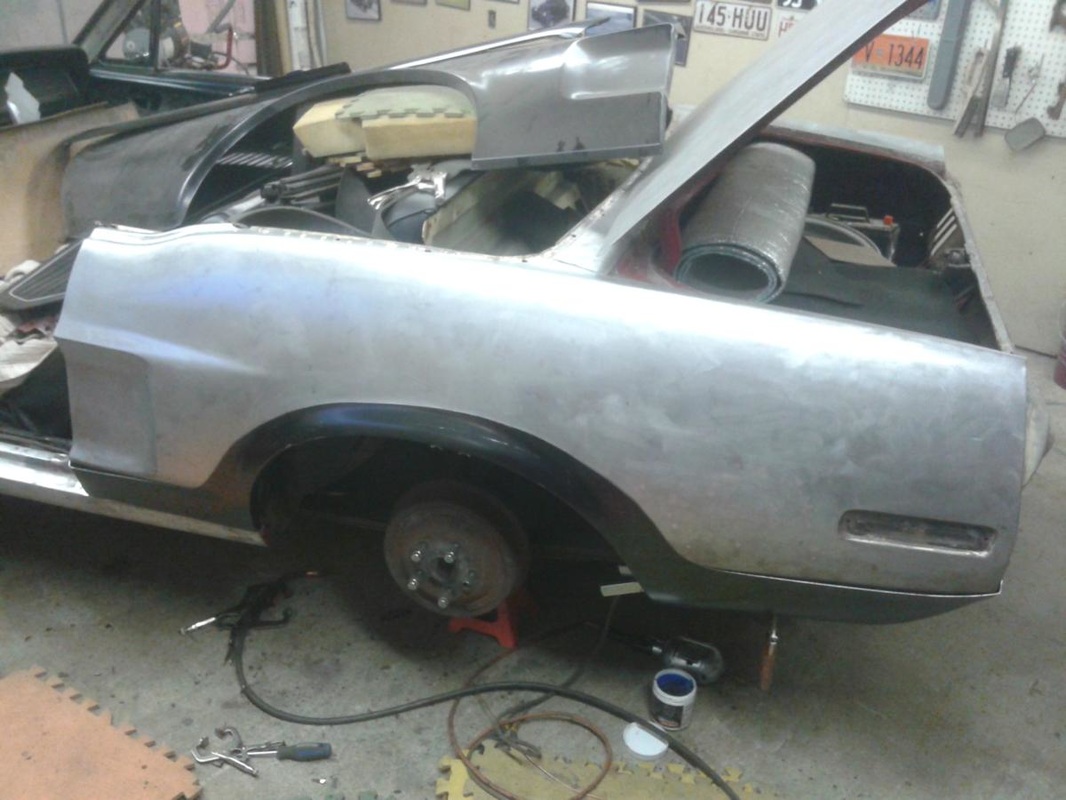
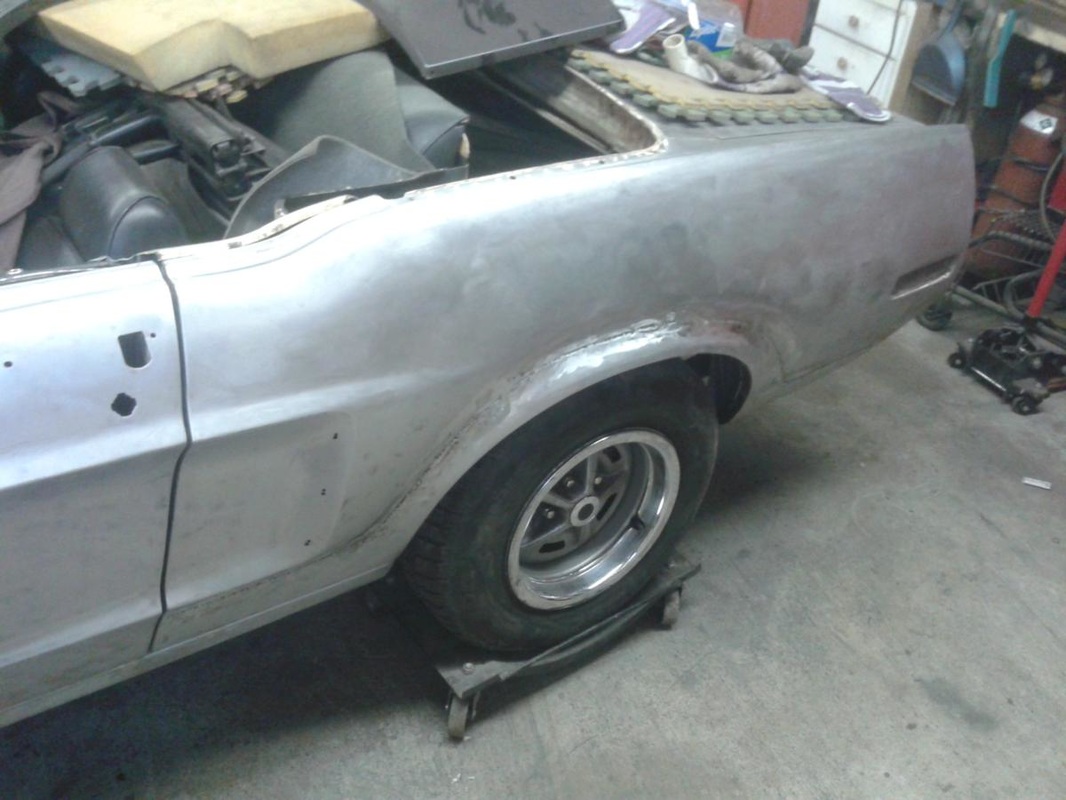
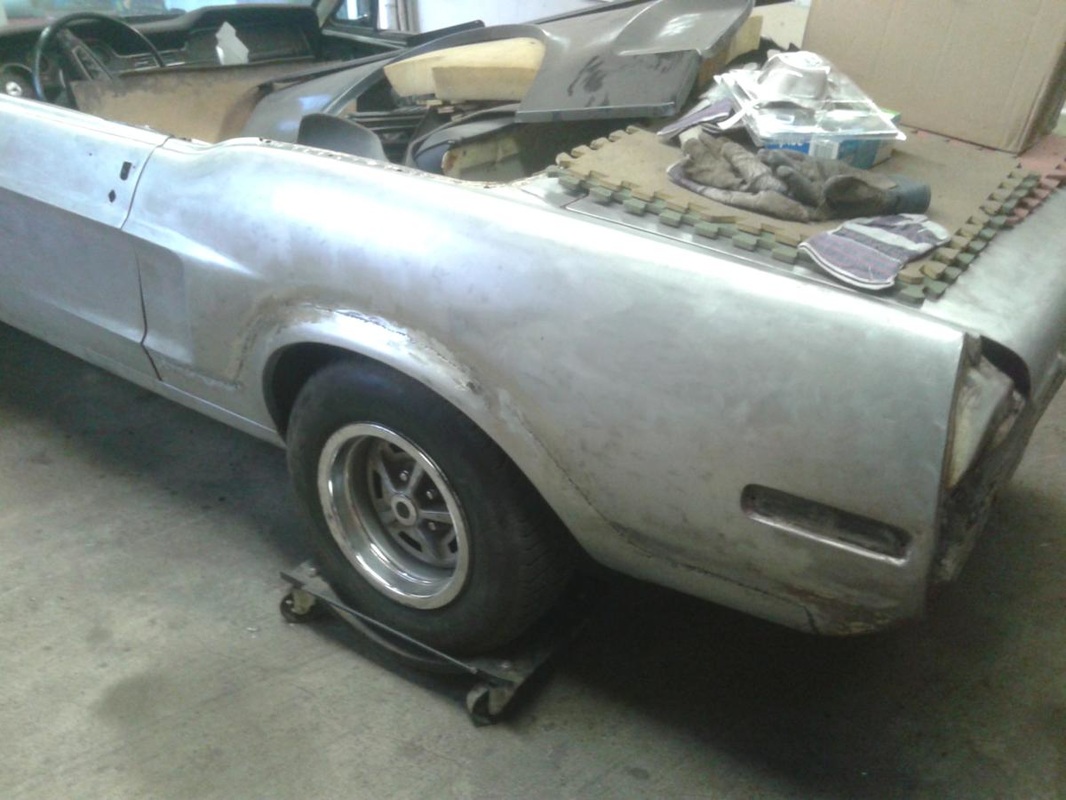
The new quarter panels didn't fit worth a sh*t so I decided to just cut out what I needed from the panel and weld it on. The next few pics show the progression.
Basically the same treatment on the passenger side
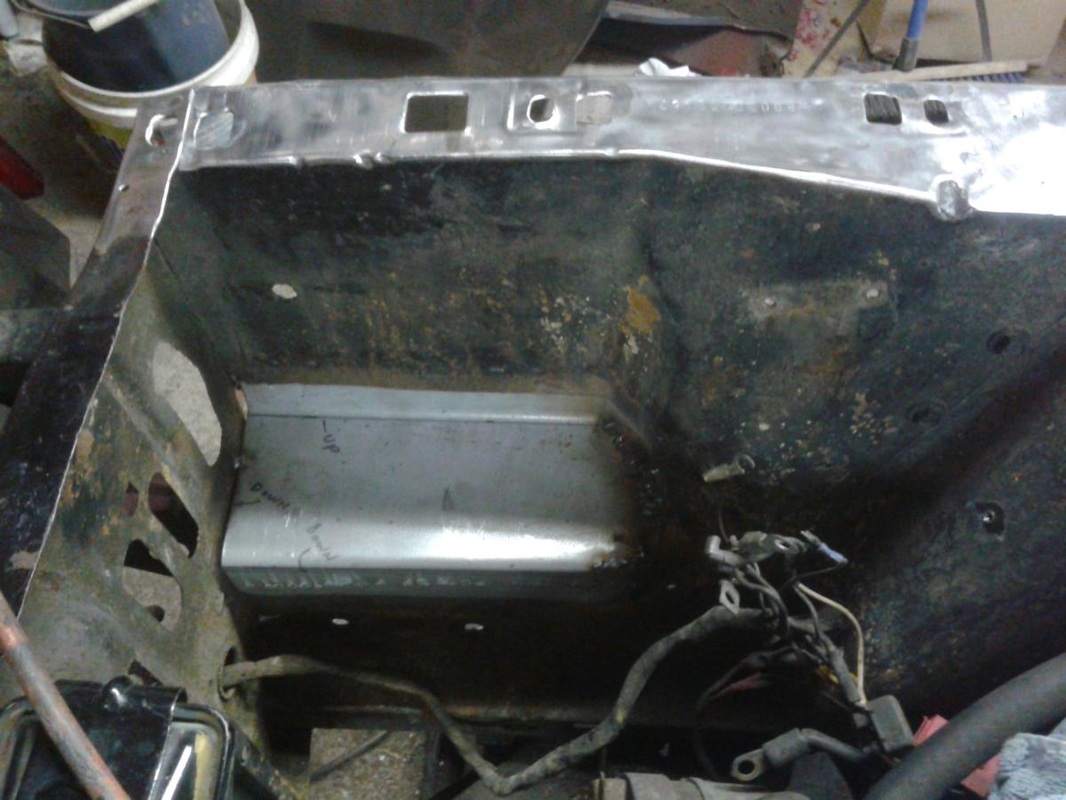
New battery shelf
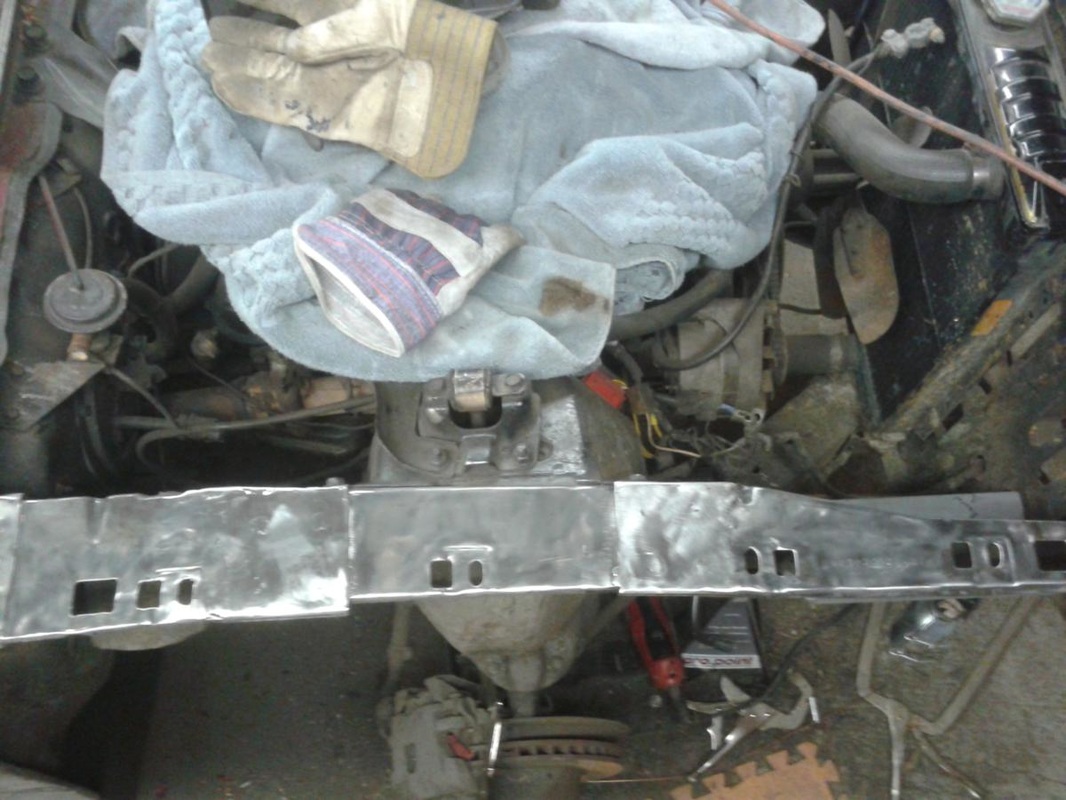
I had to cut our some of the top rails as someone decided to patch with bronze and bondo way back when in the 80's
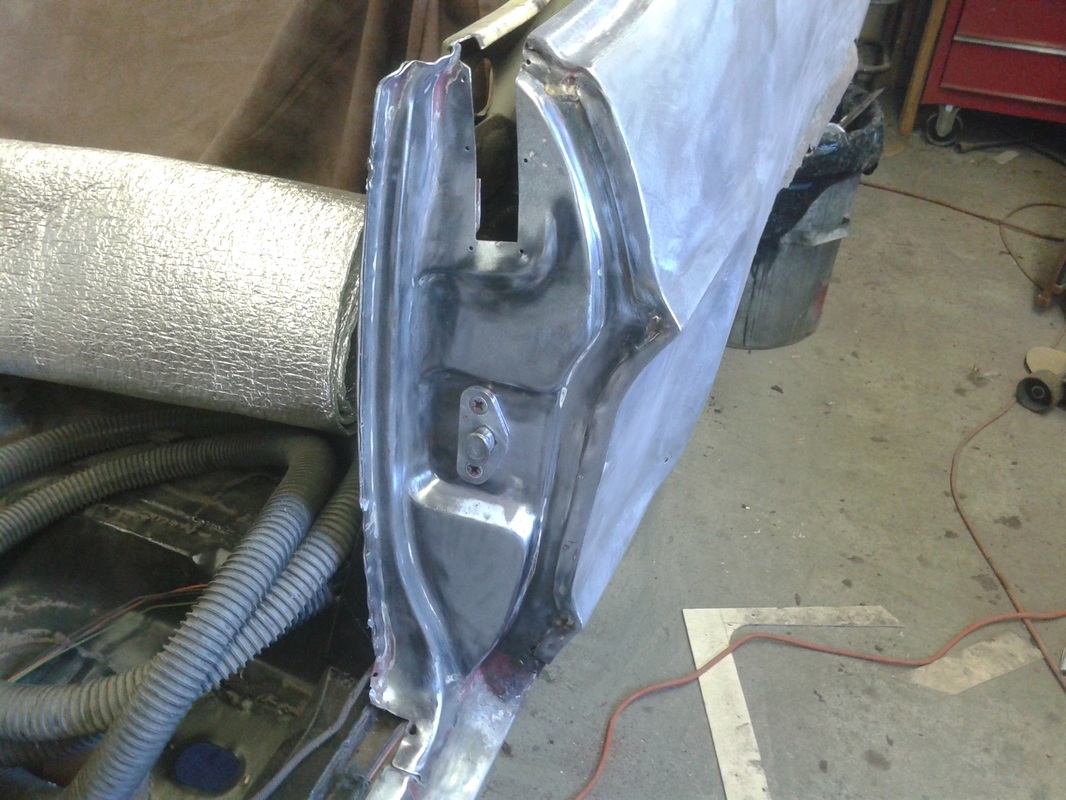
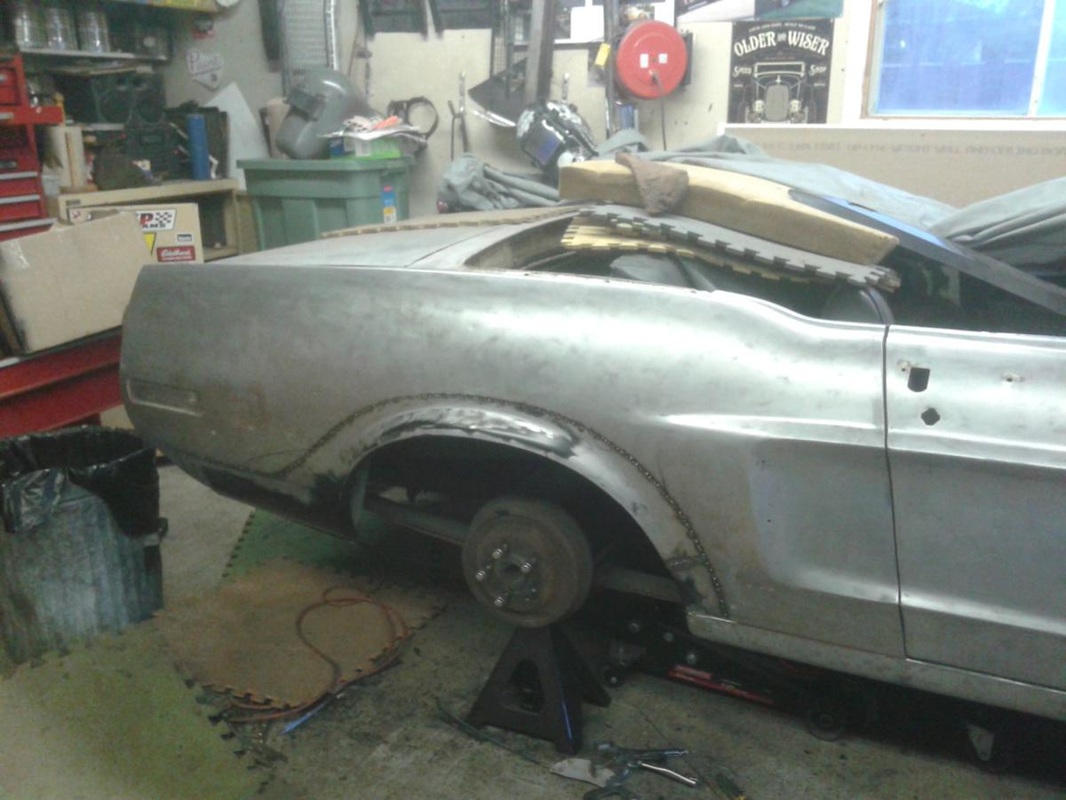
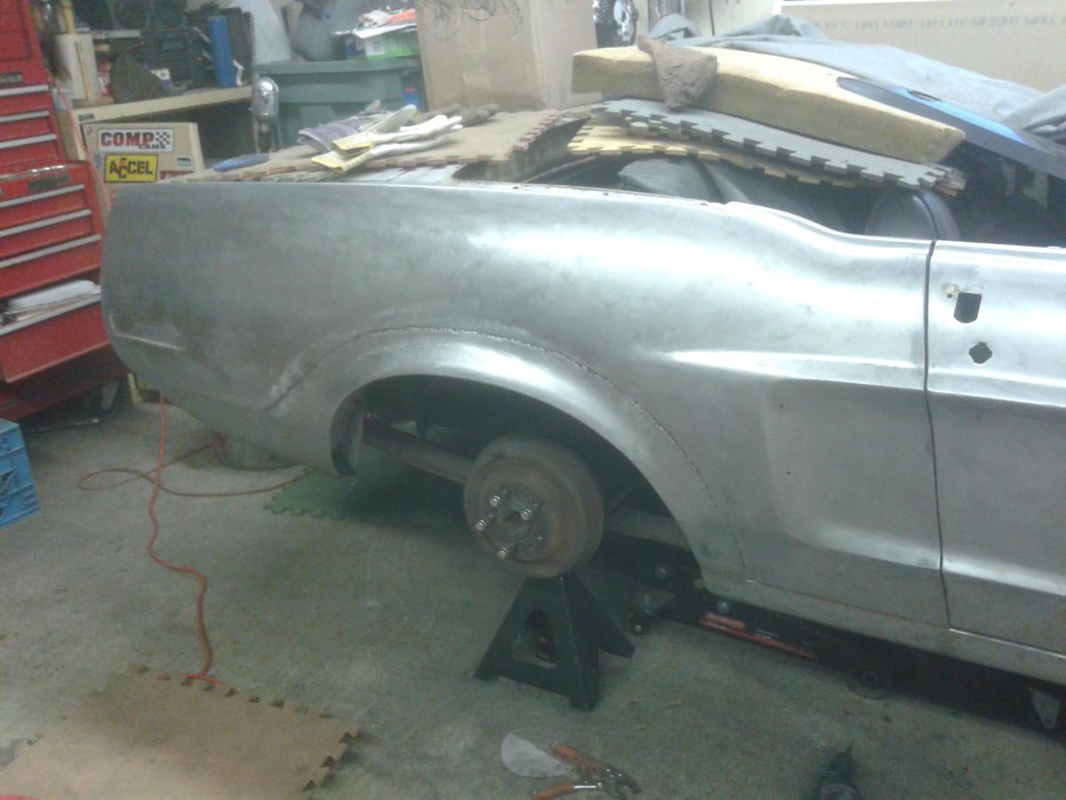
This is the left wheel well all redone
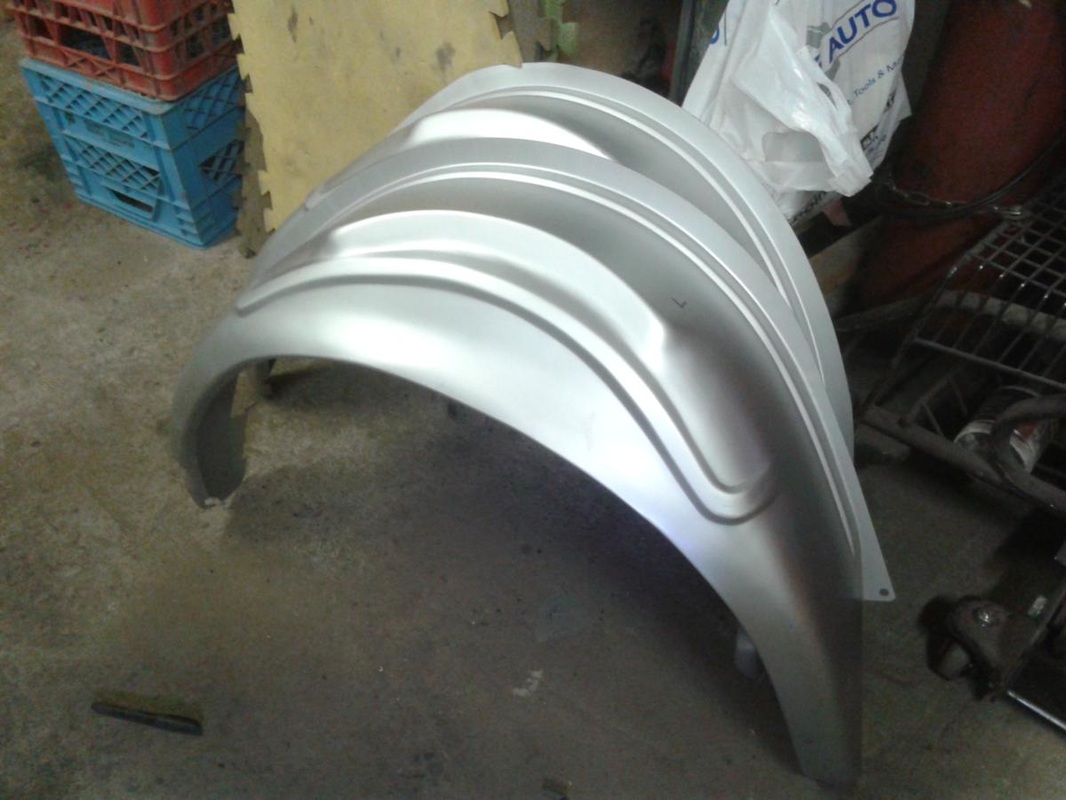
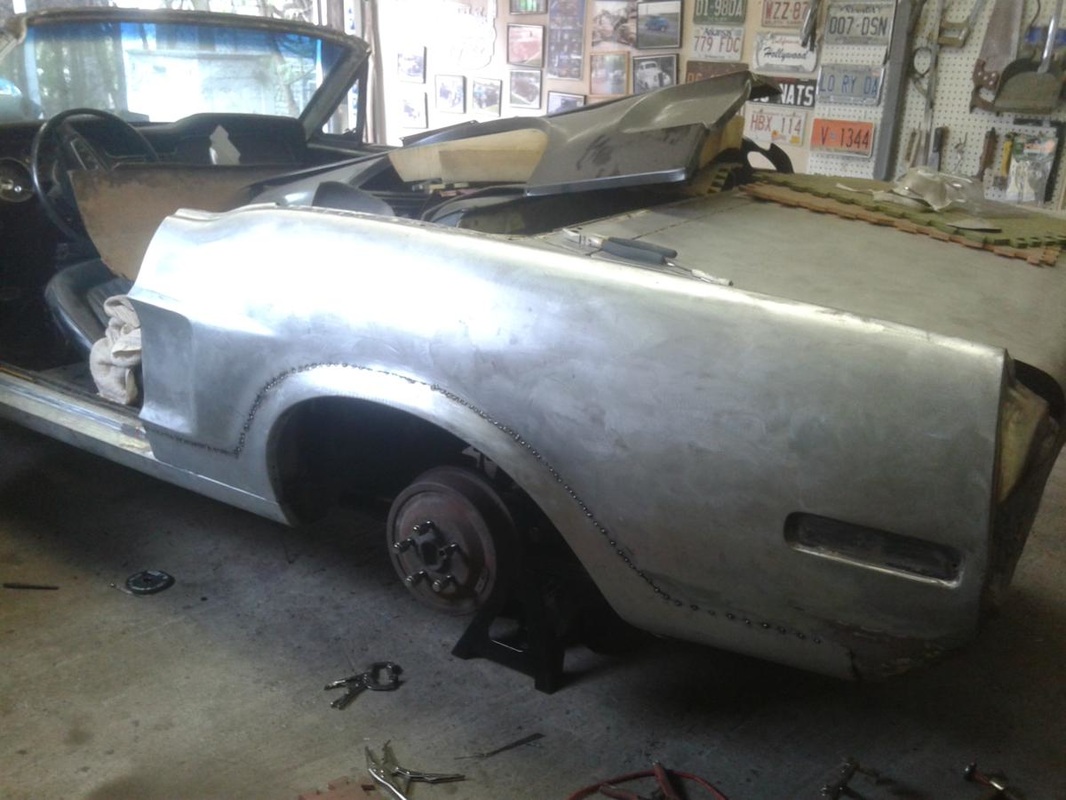
Now on to the front fenders and hood
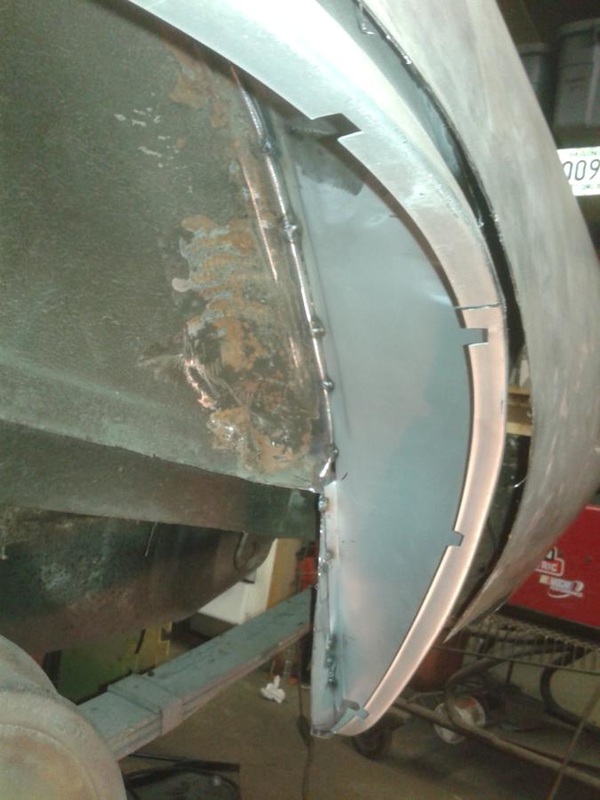
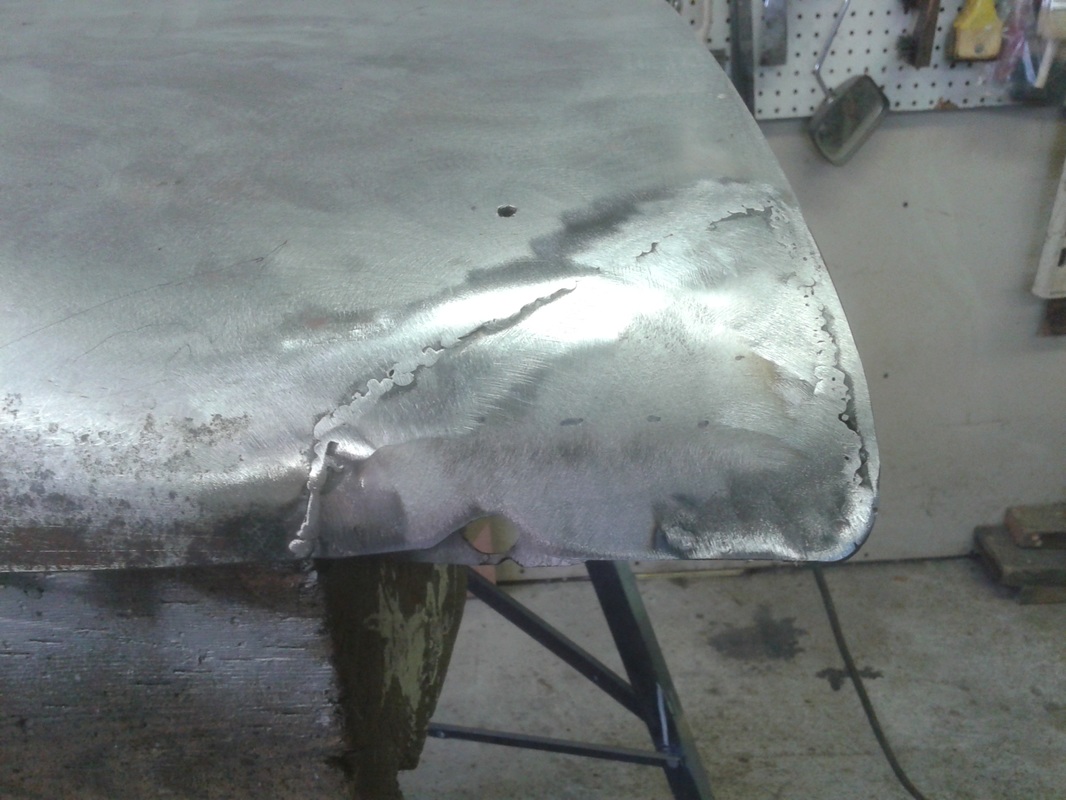
Lower corner of LF fender needed attention
I cut out the bad stuff and welded in new metal
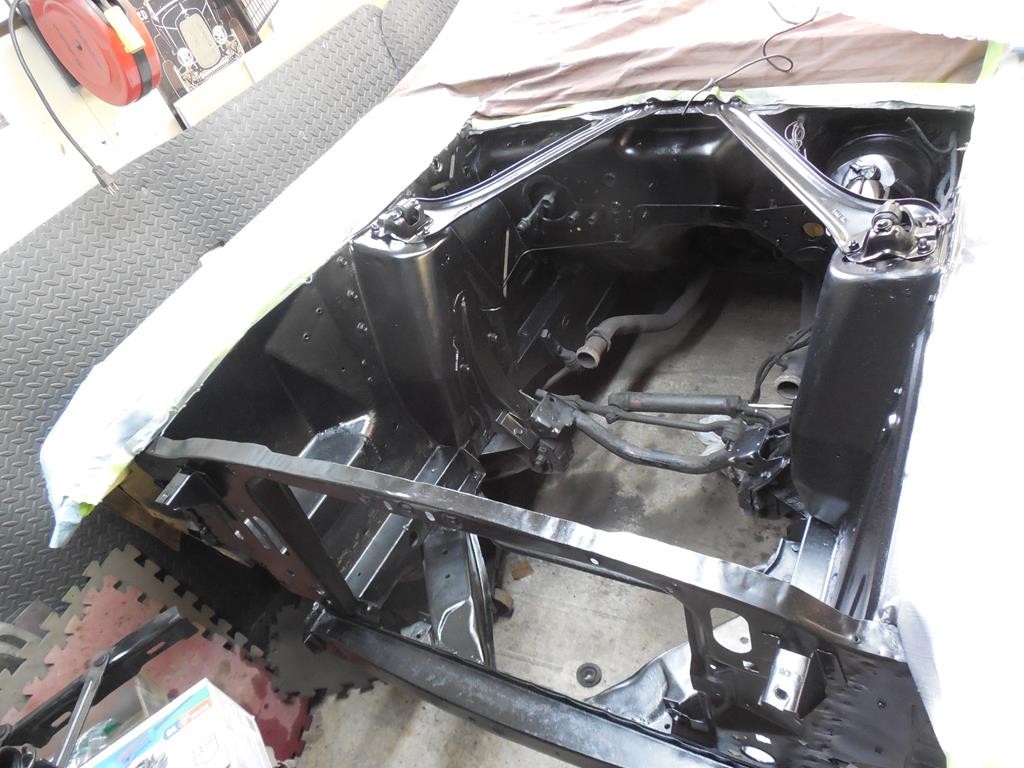
The front end is all stripped of paint
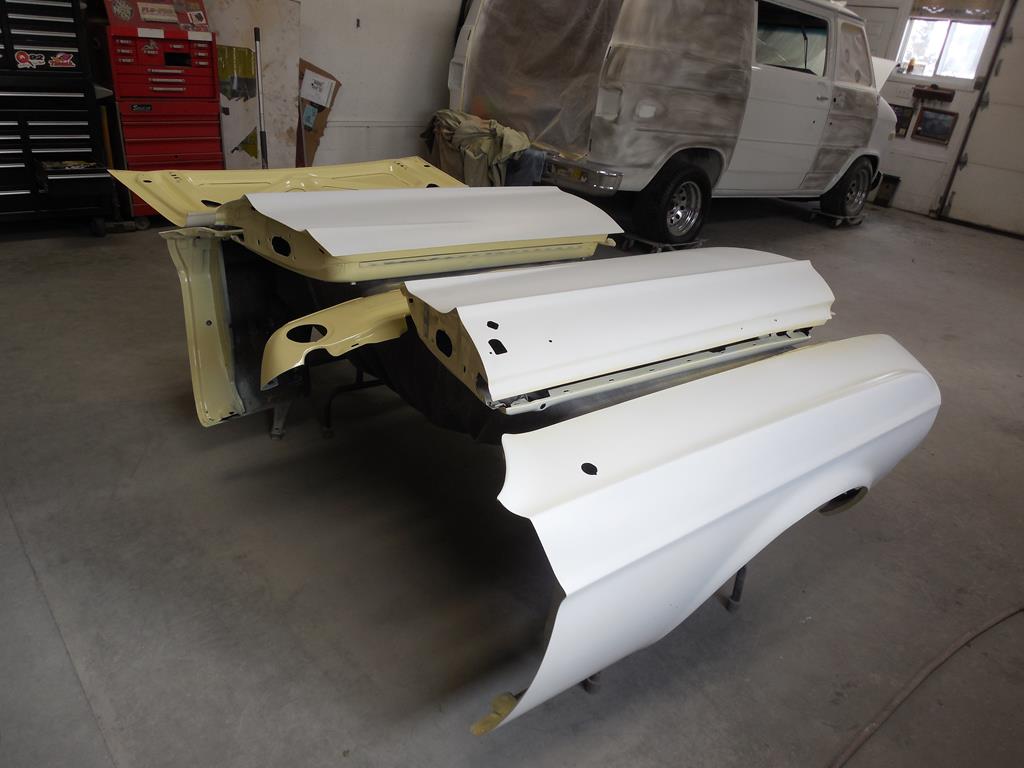
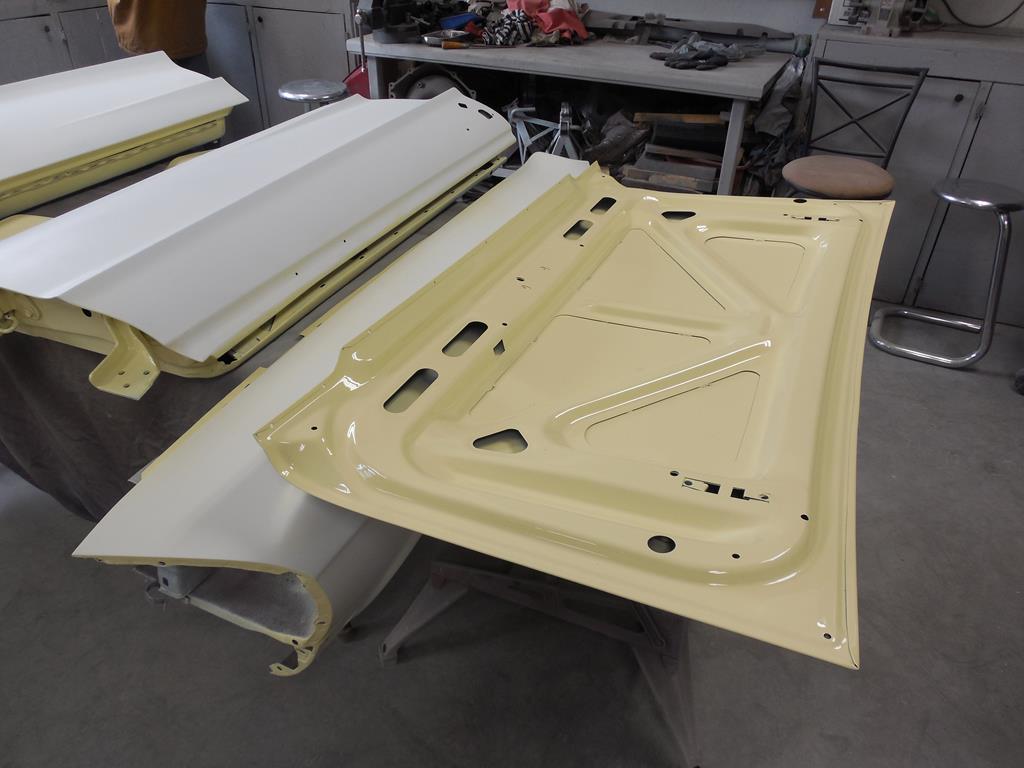
New trunk lid. The rear lip on the old lid was pretty tough.
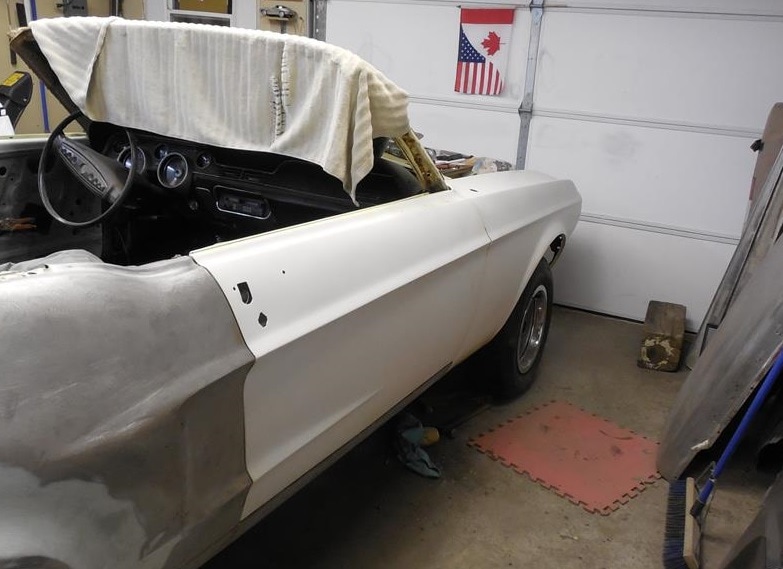
Starting to get a bit of colour (the original colour was Meadowlark Yellow and its going back to that)
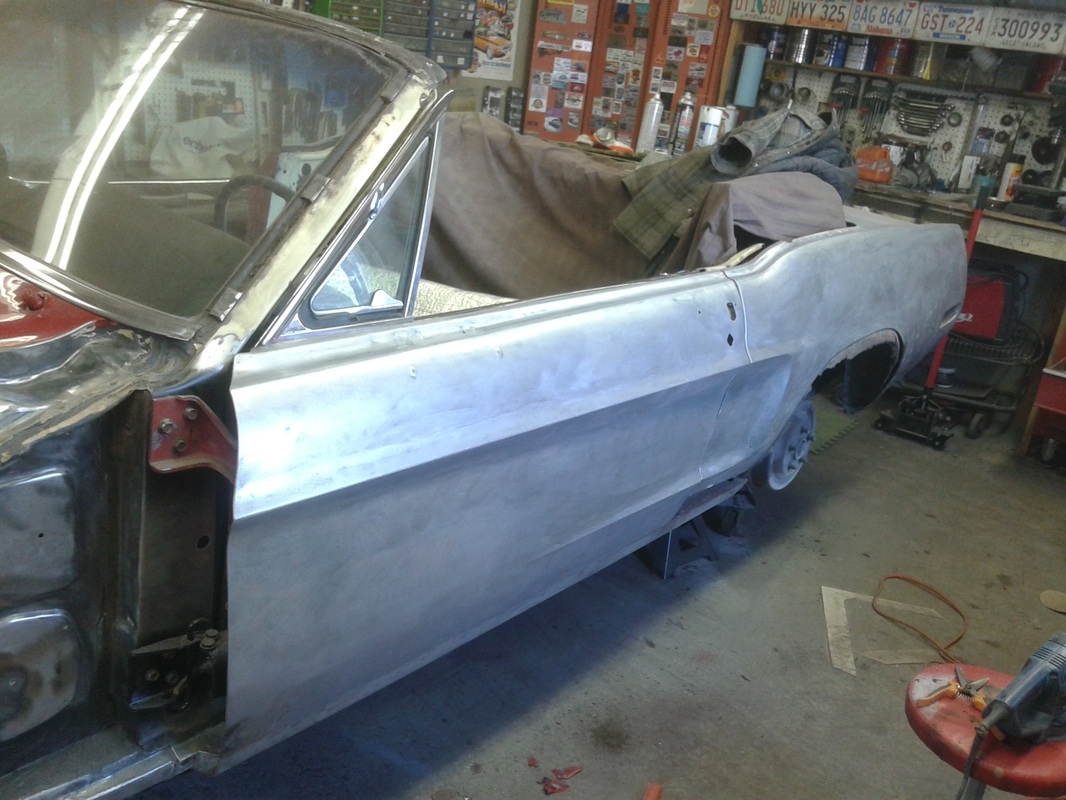
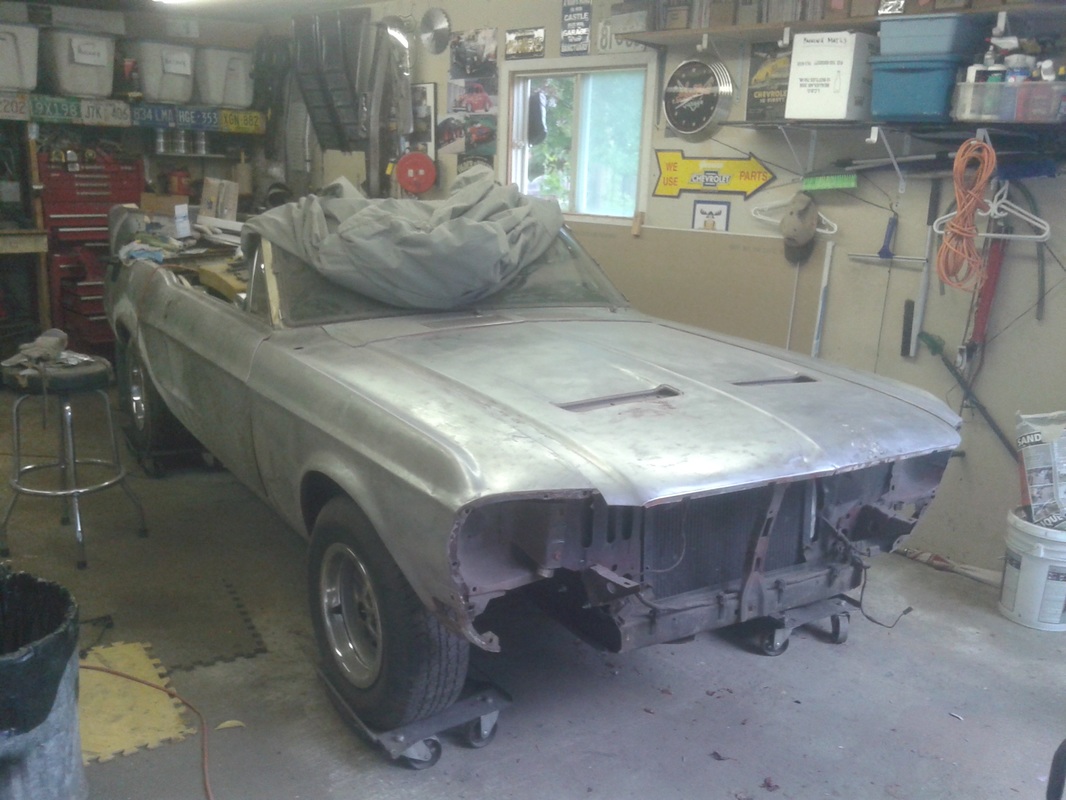
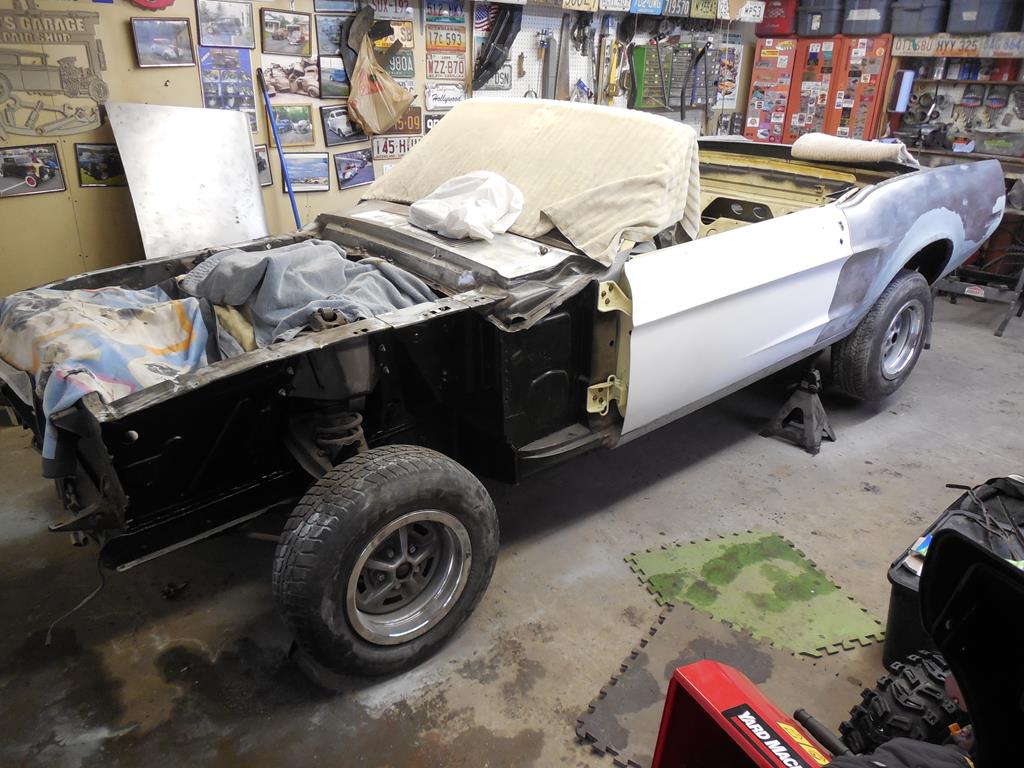
Fenders and doors all lined up.. Should go in for the remaining primer and paint.
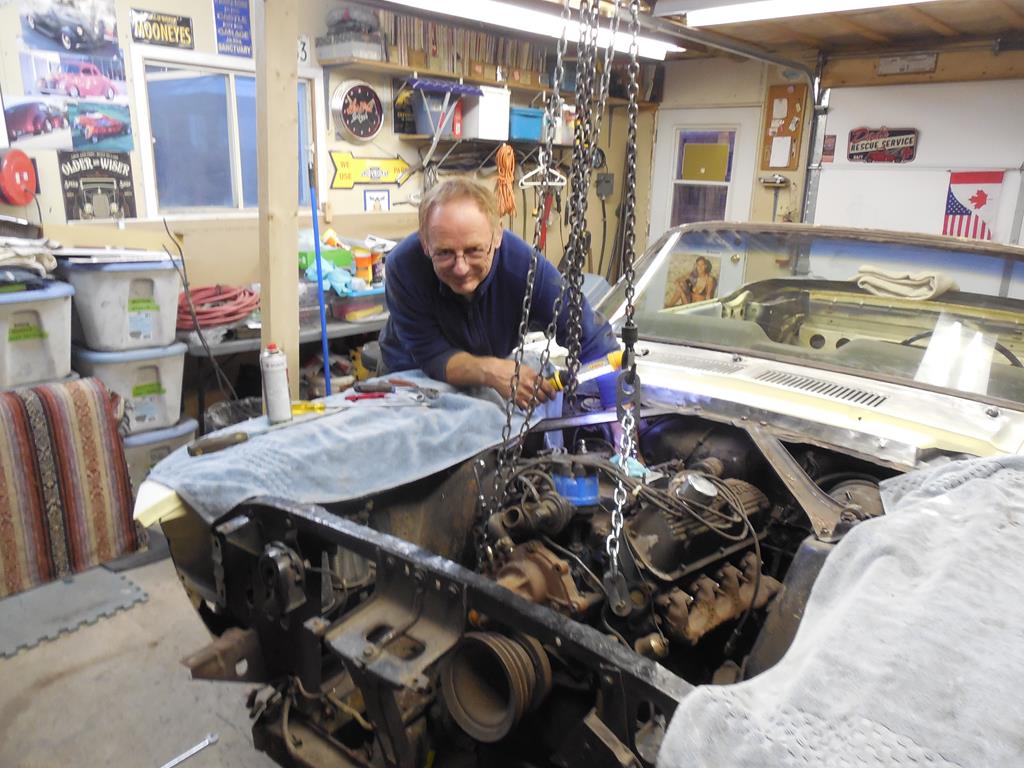
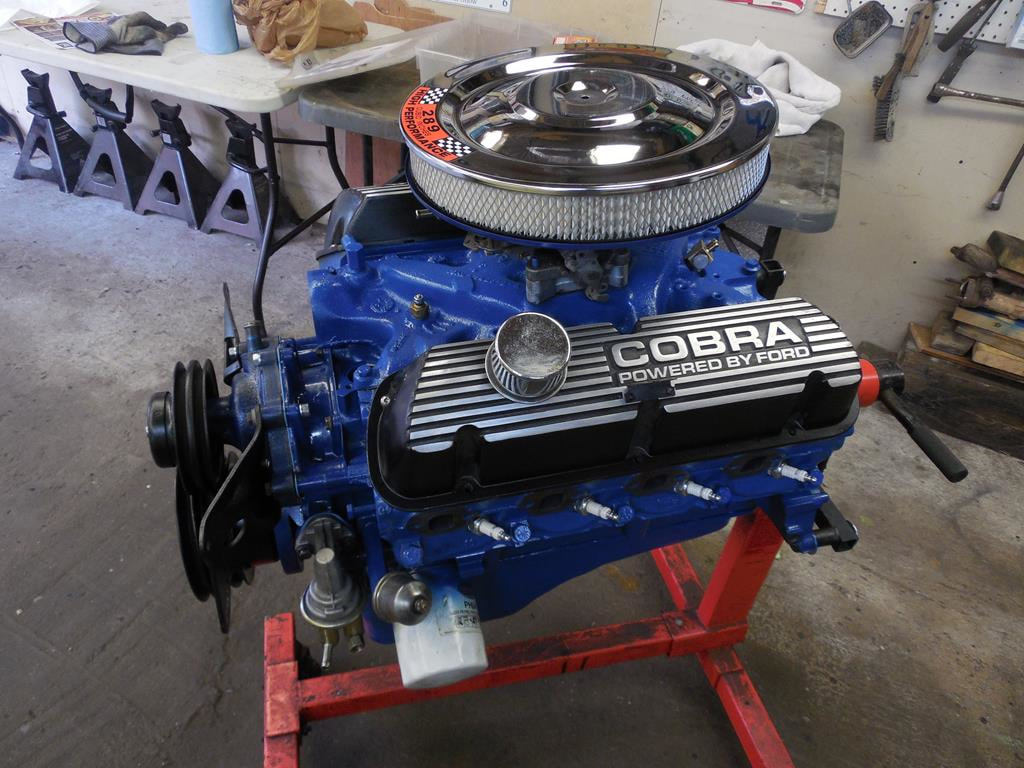
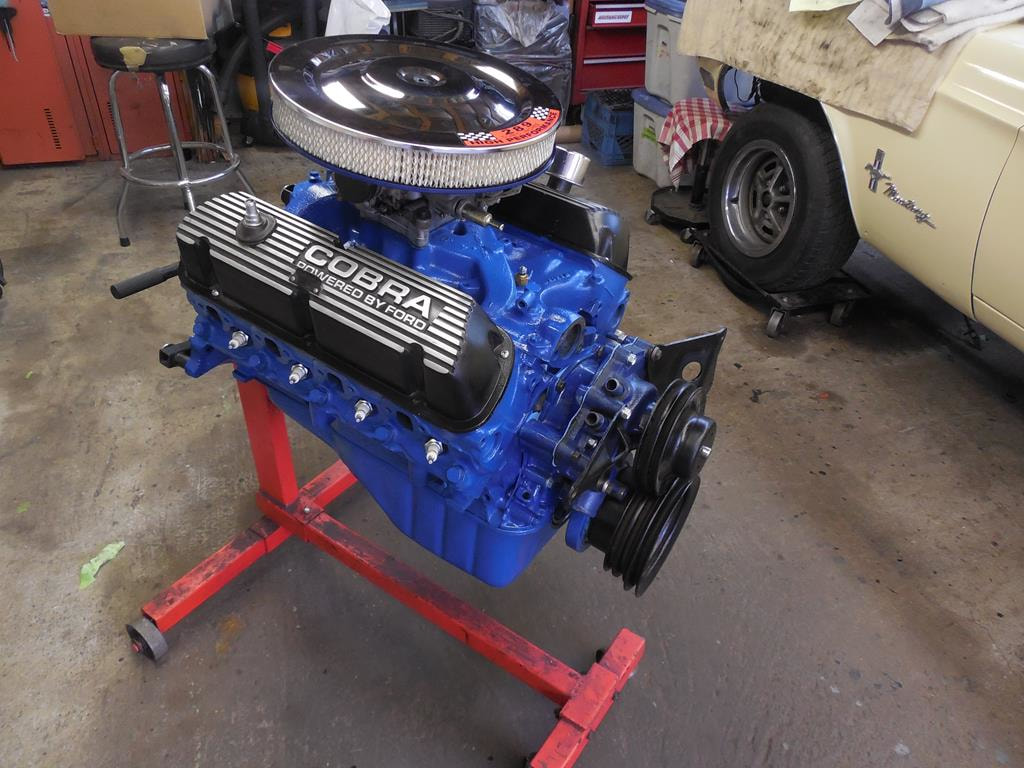
Lets pull the engine and tranny to freshen up the engine bay and reseal the 289.
Buddy, Gilles being super careful pulling the engine.
289 & C4 out
Looking into the abyss
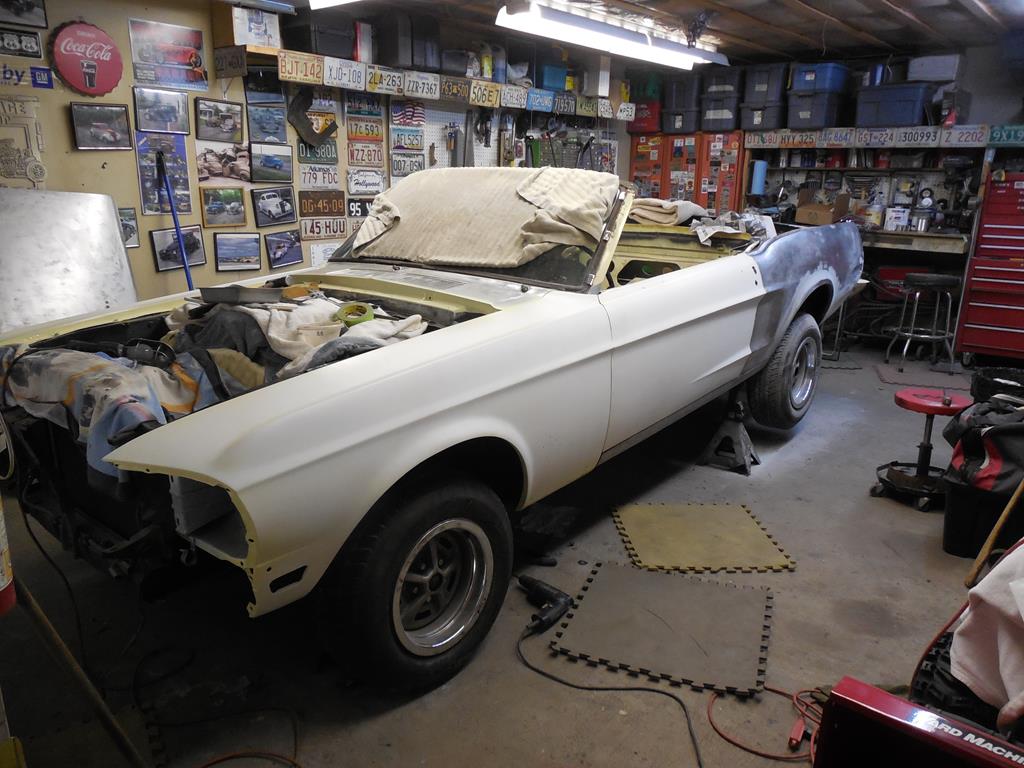
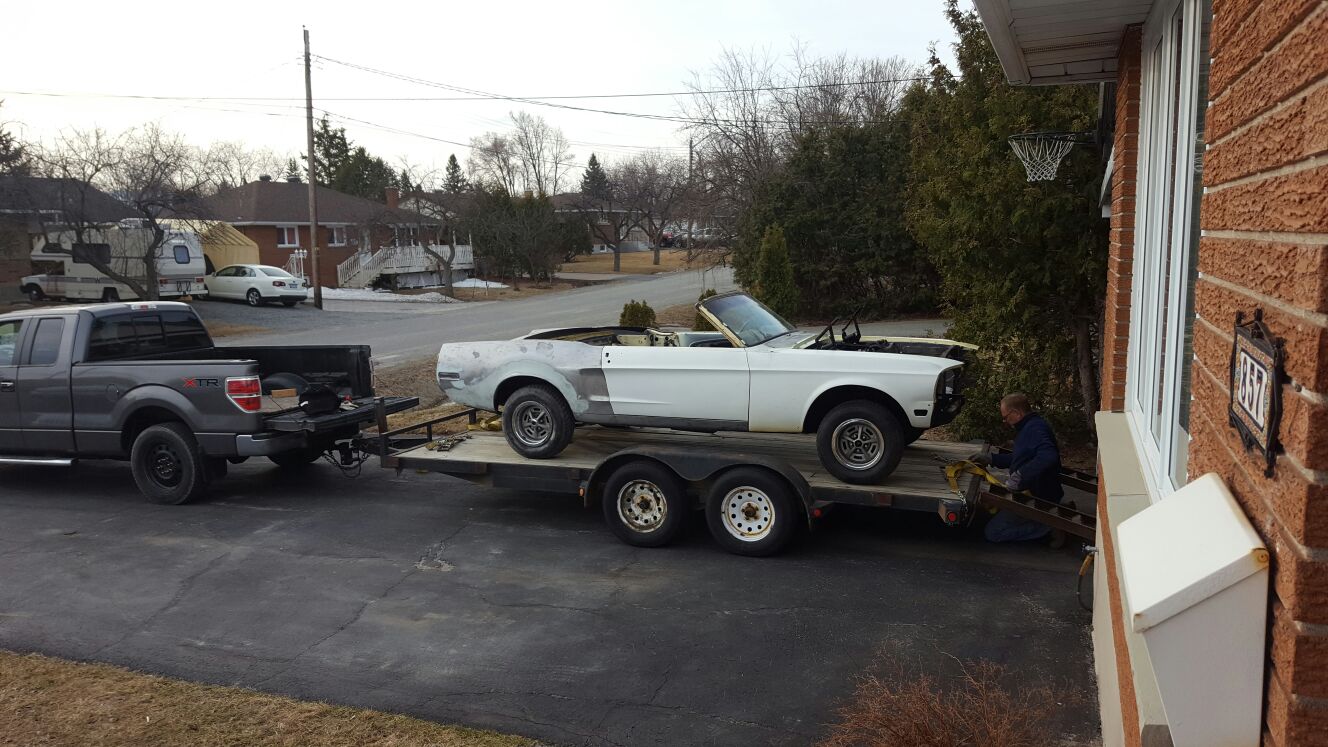
Off to the paint shop
Off to the paint shop
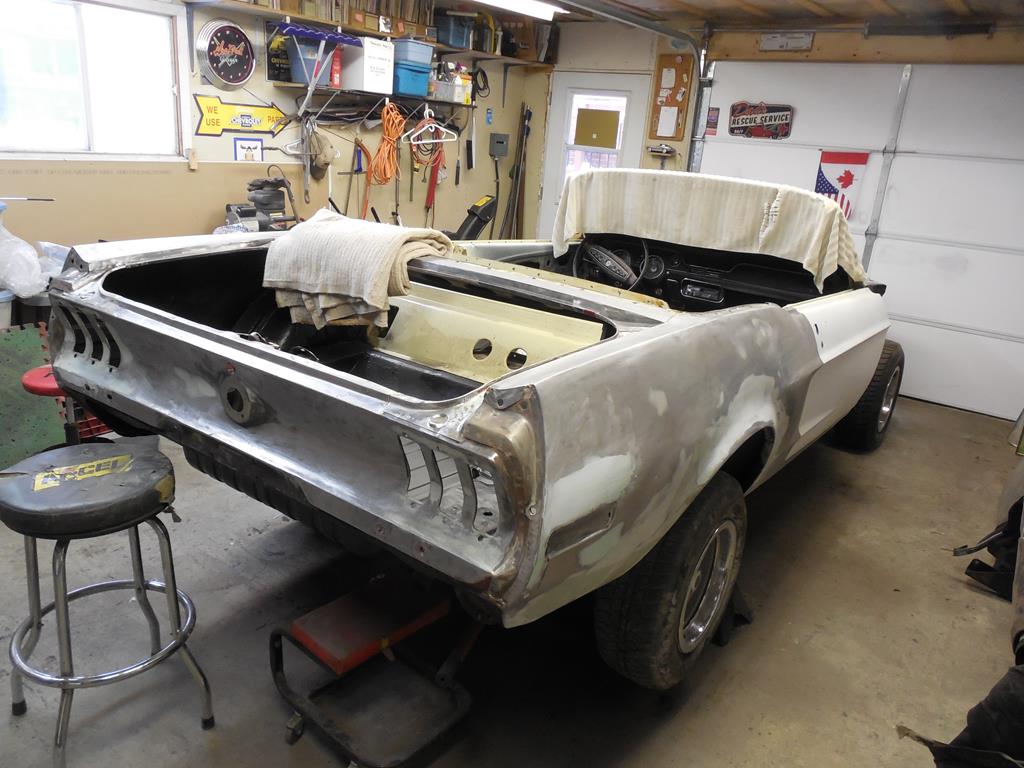
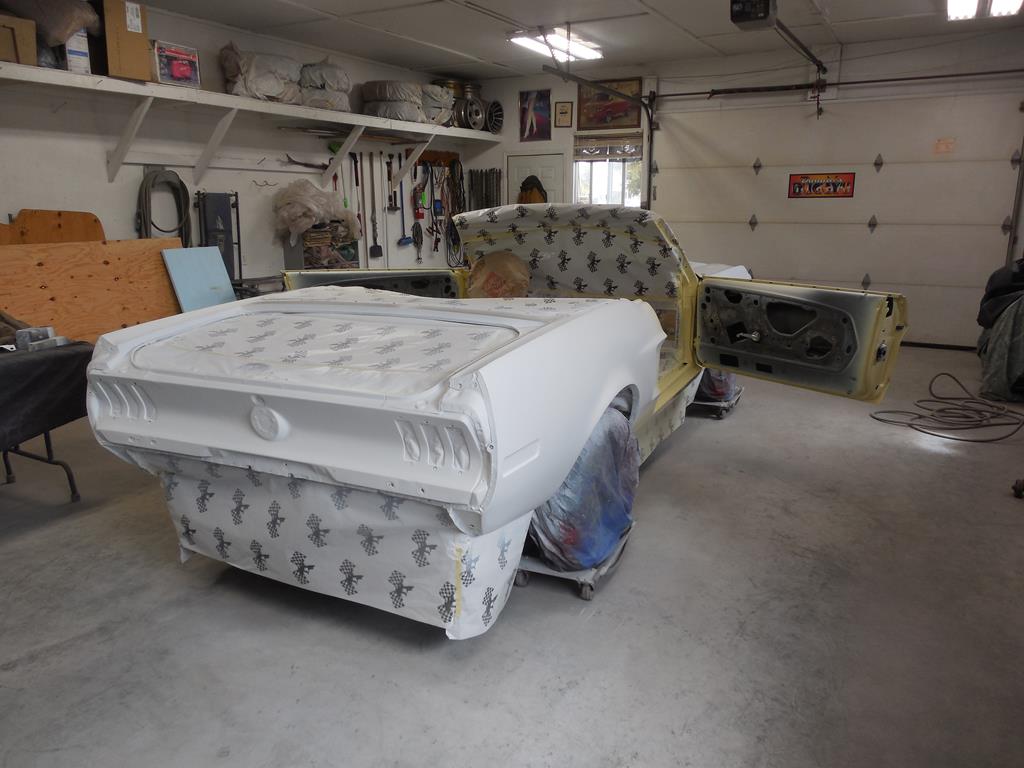
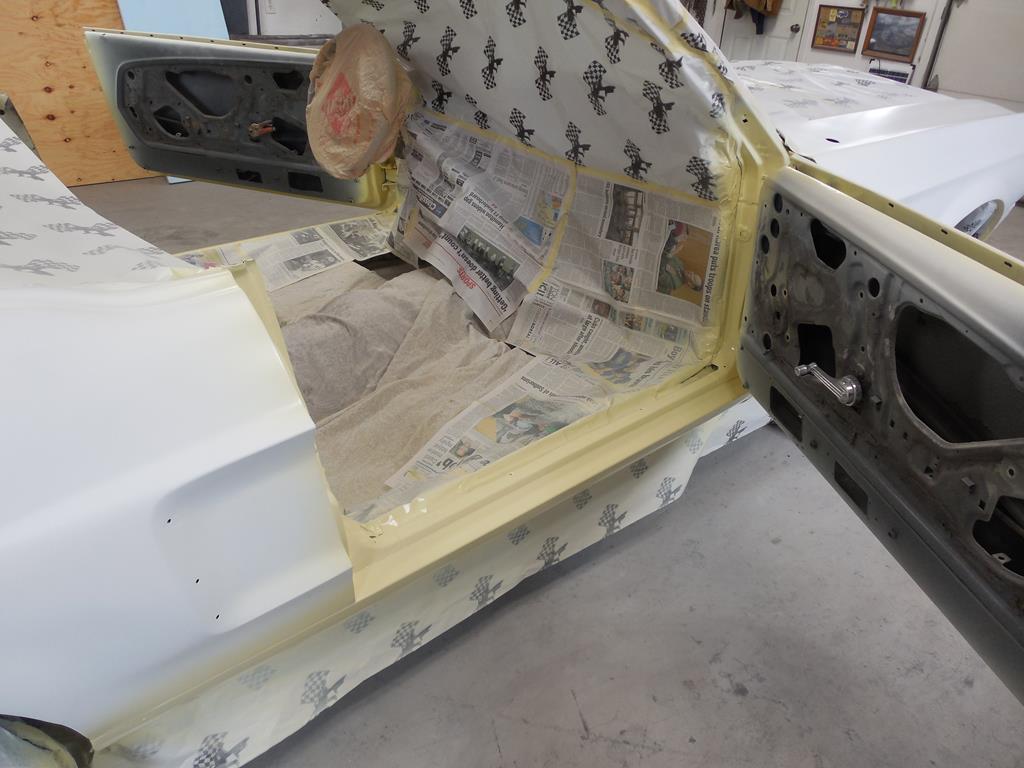
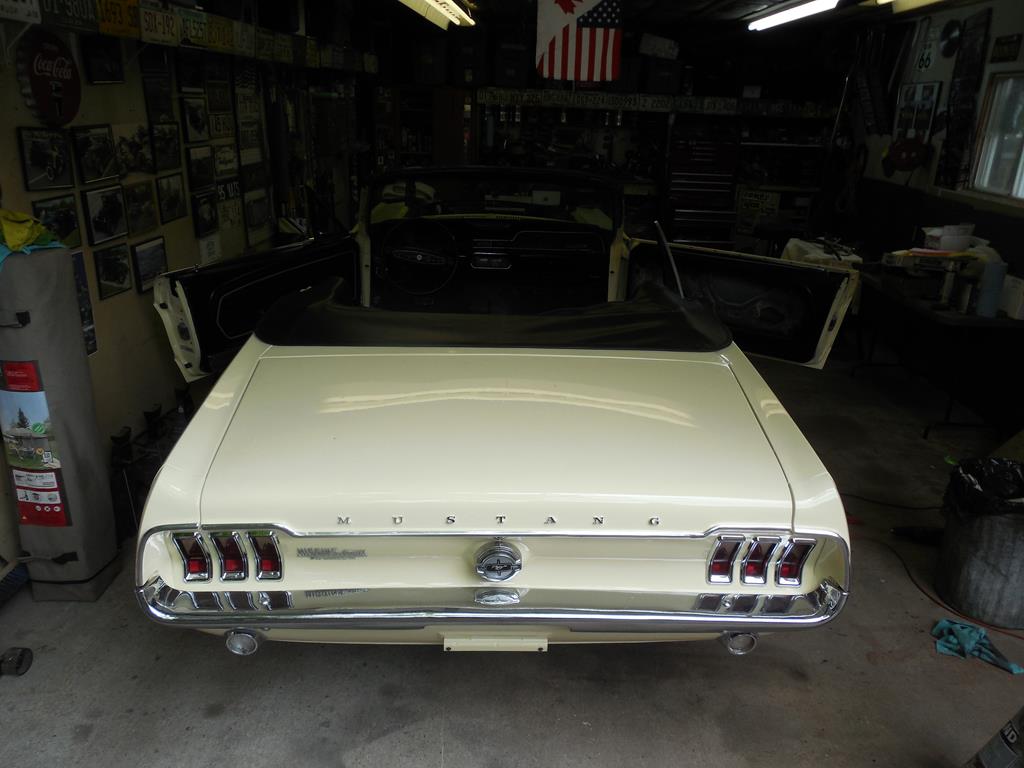
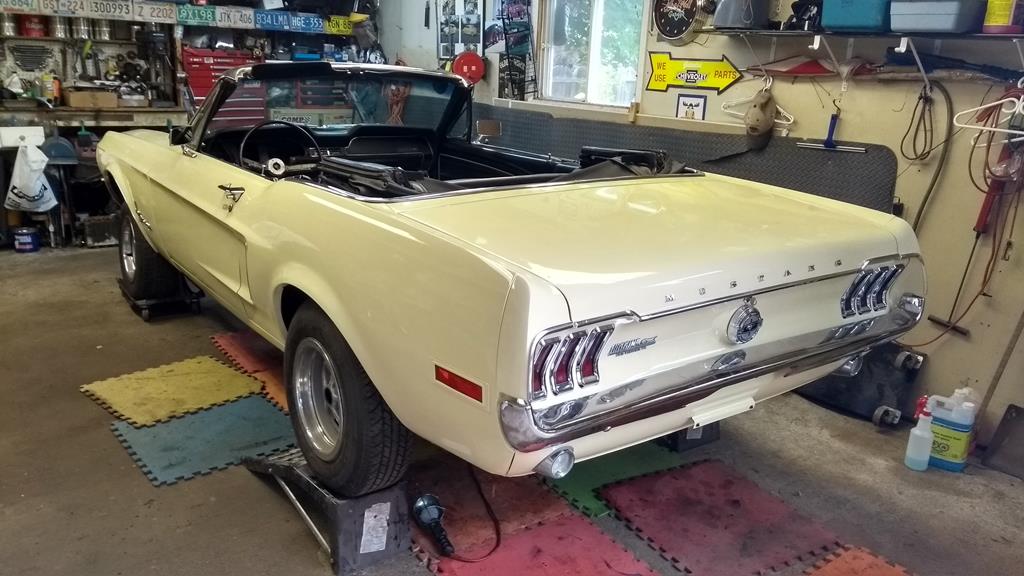
Nice to see the car all one colour again
Engine bay clean-up and painted
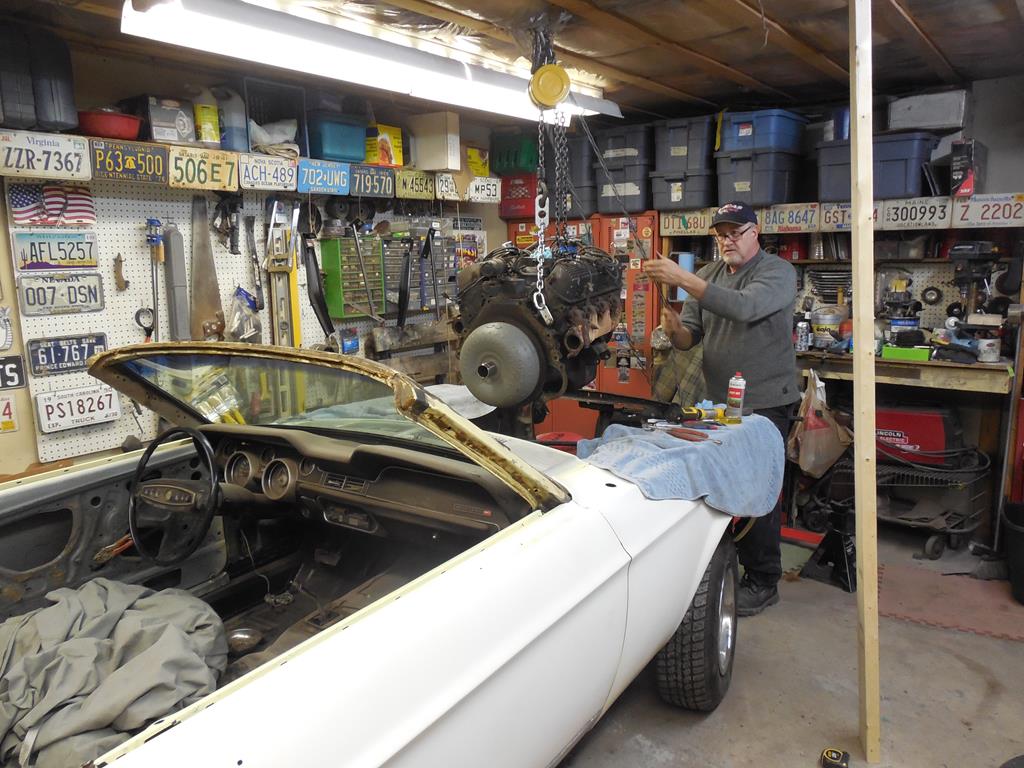
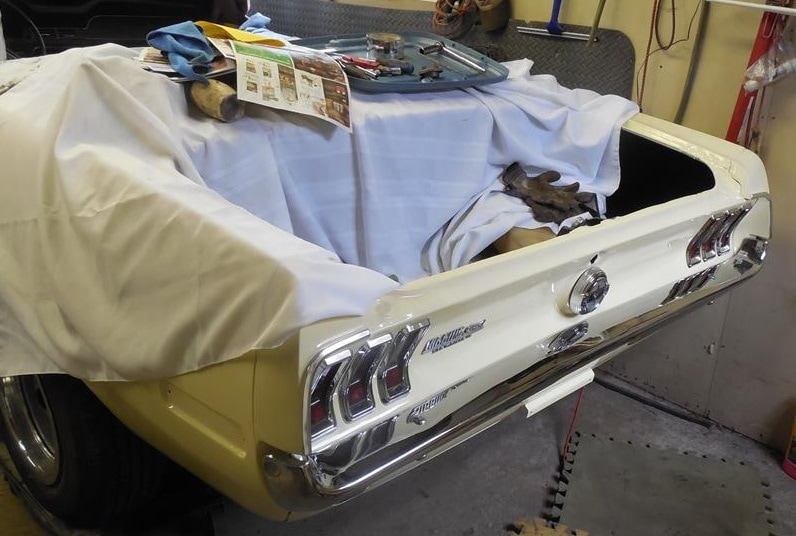
The assembly begins!!!!!
Aug 30, 2017
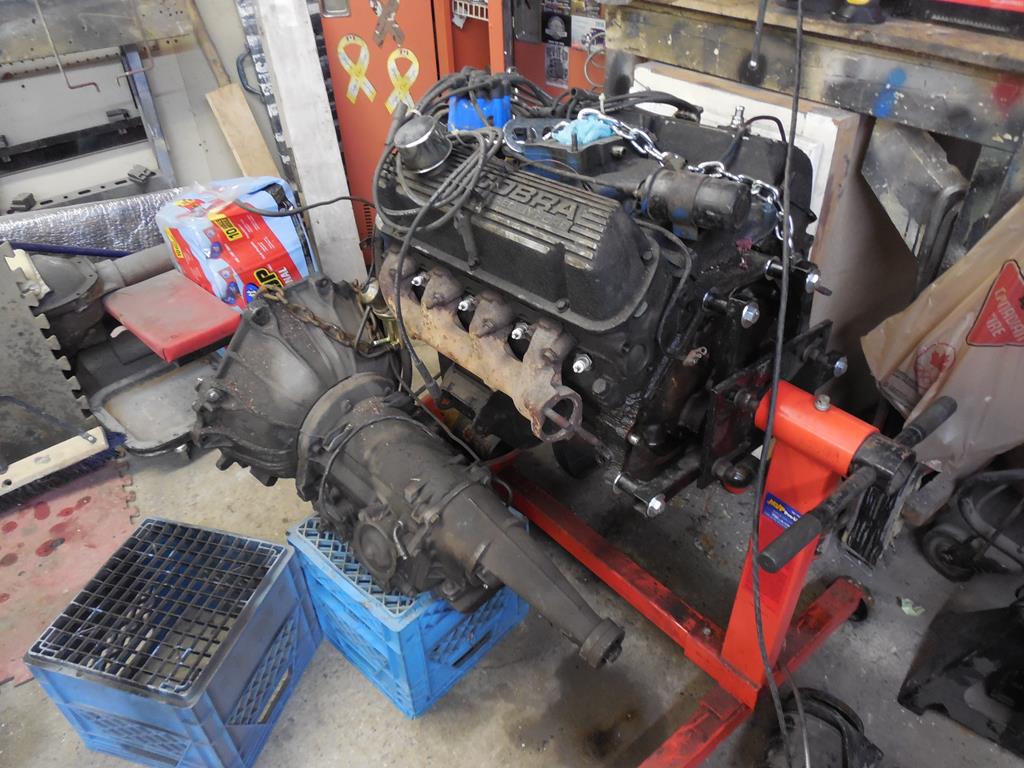
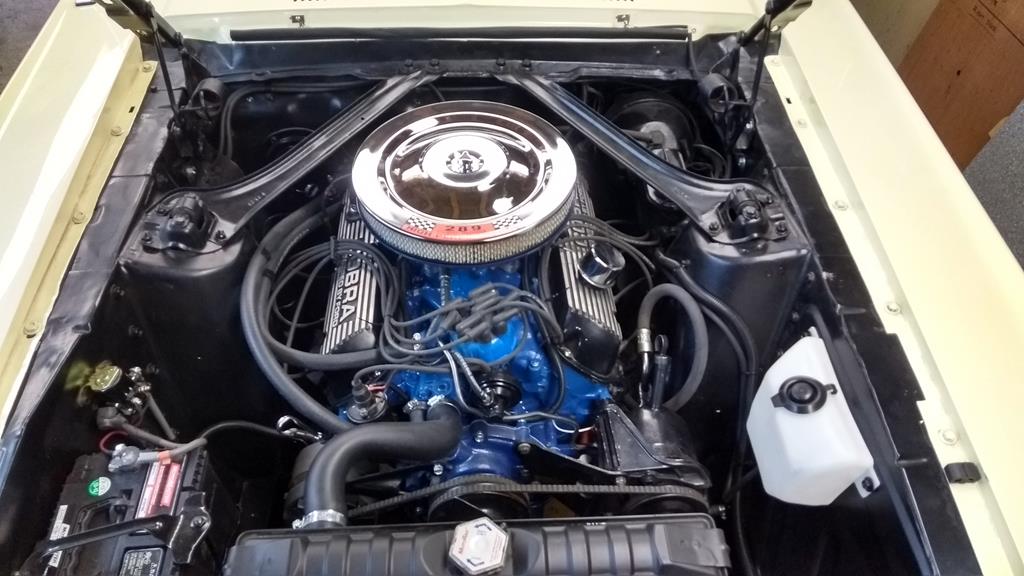
Original 289 engine is rebuilt and almost ready to drop in
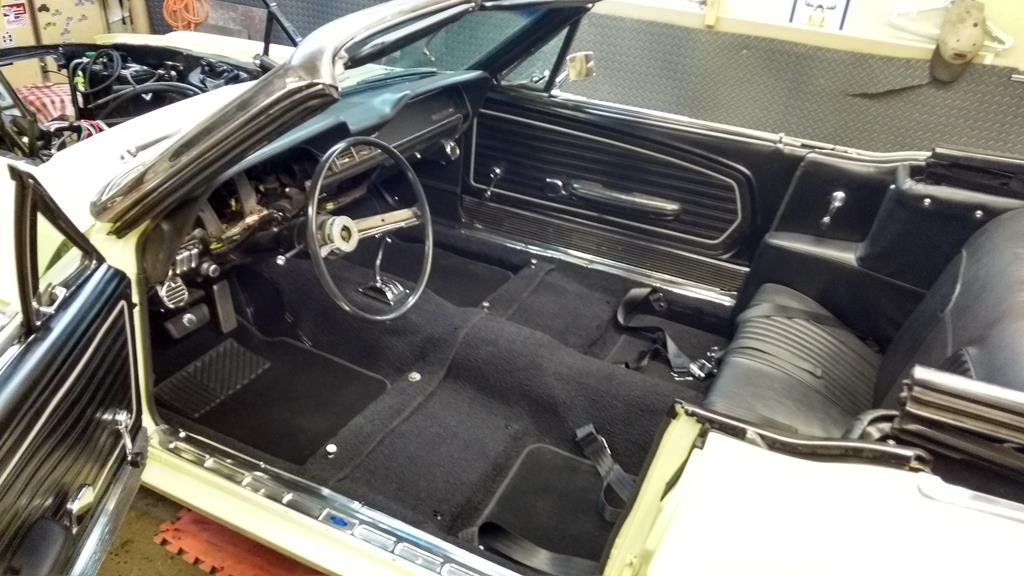
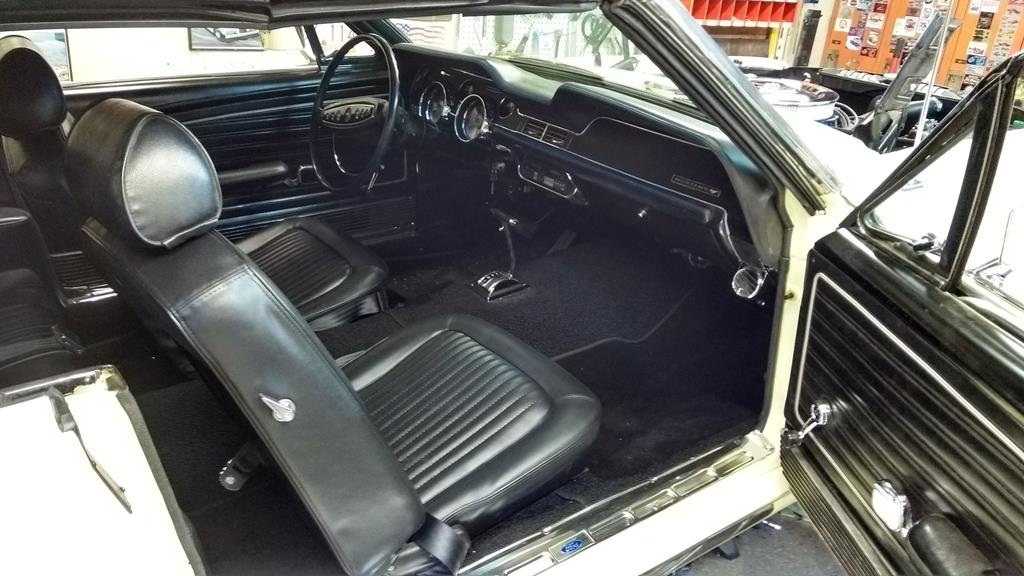
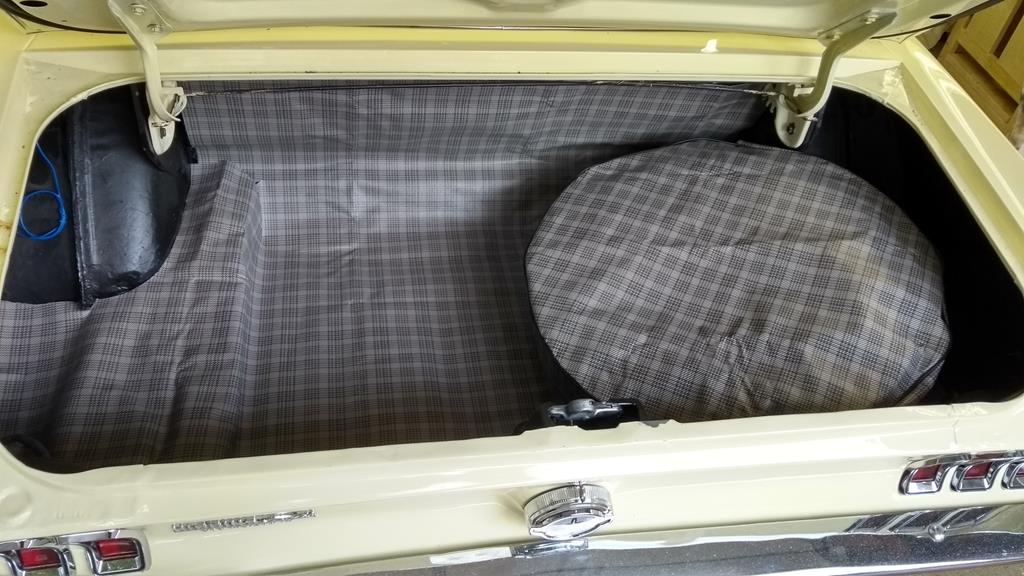
Carpet is in. A few more bits to do on the interior, and the buckets of course.
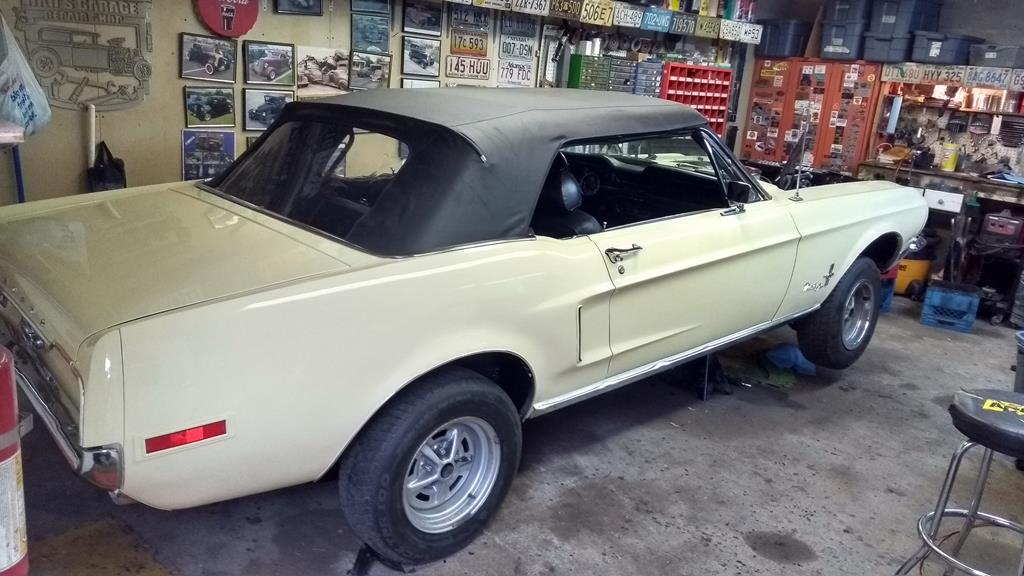
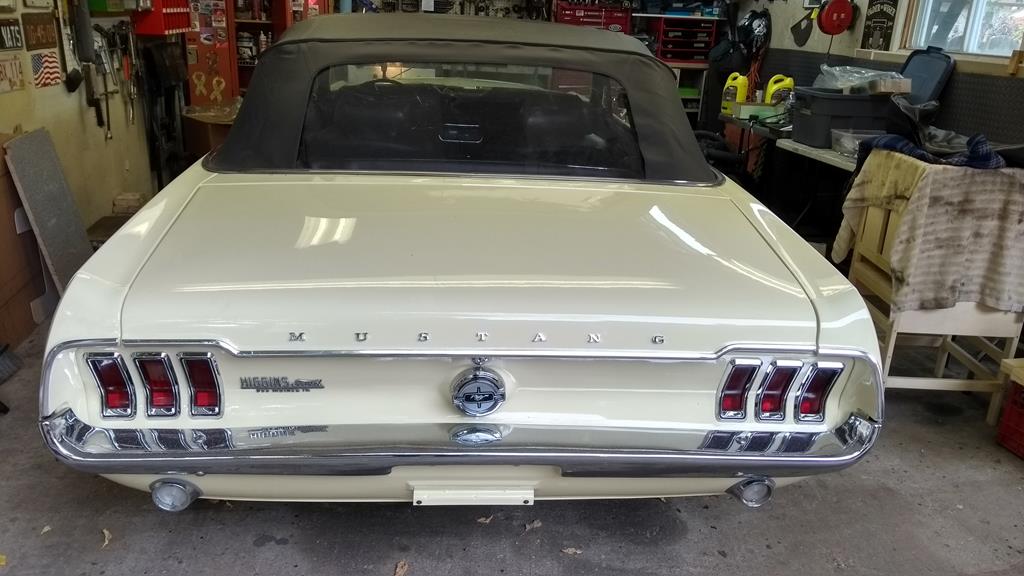
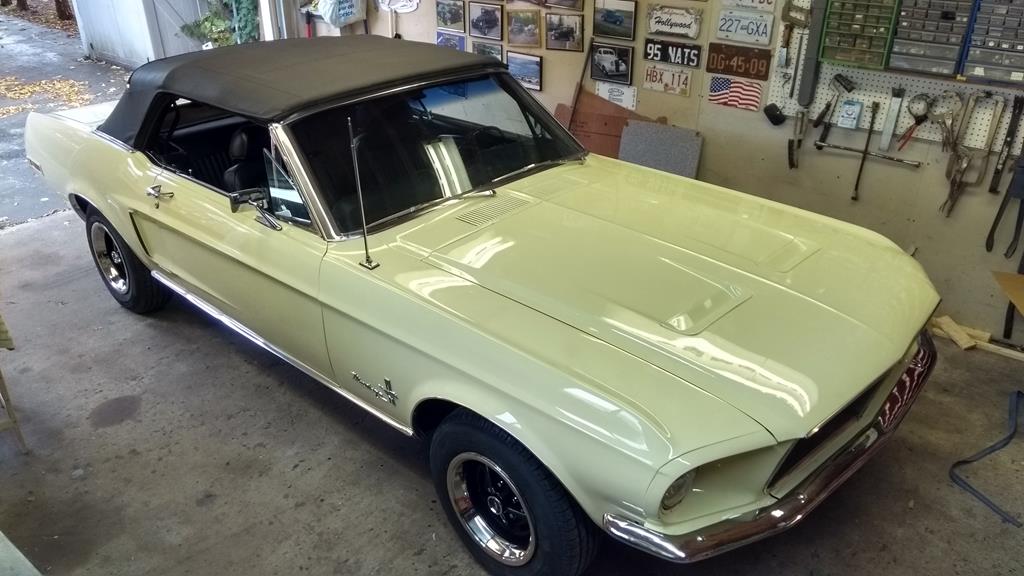
This is pretty much it for now. It's gone into winter storage. Looking forward to some top-down cruising next summer.